Woks and Bagels!
Sometimes I overwhelm myself with impulsiveness. I’m prone to throwing myself into projects head first with great enthusiasm until I get part way in and realize that 1. I don’t have all the ingredients/parts/equipment needed for it; 2. that in my eager haste to dive in immediately, I hadn’t fully absorbed the requirements of the process; 3. I make a great big mess of it all and walk away and make a new cup of coffee.
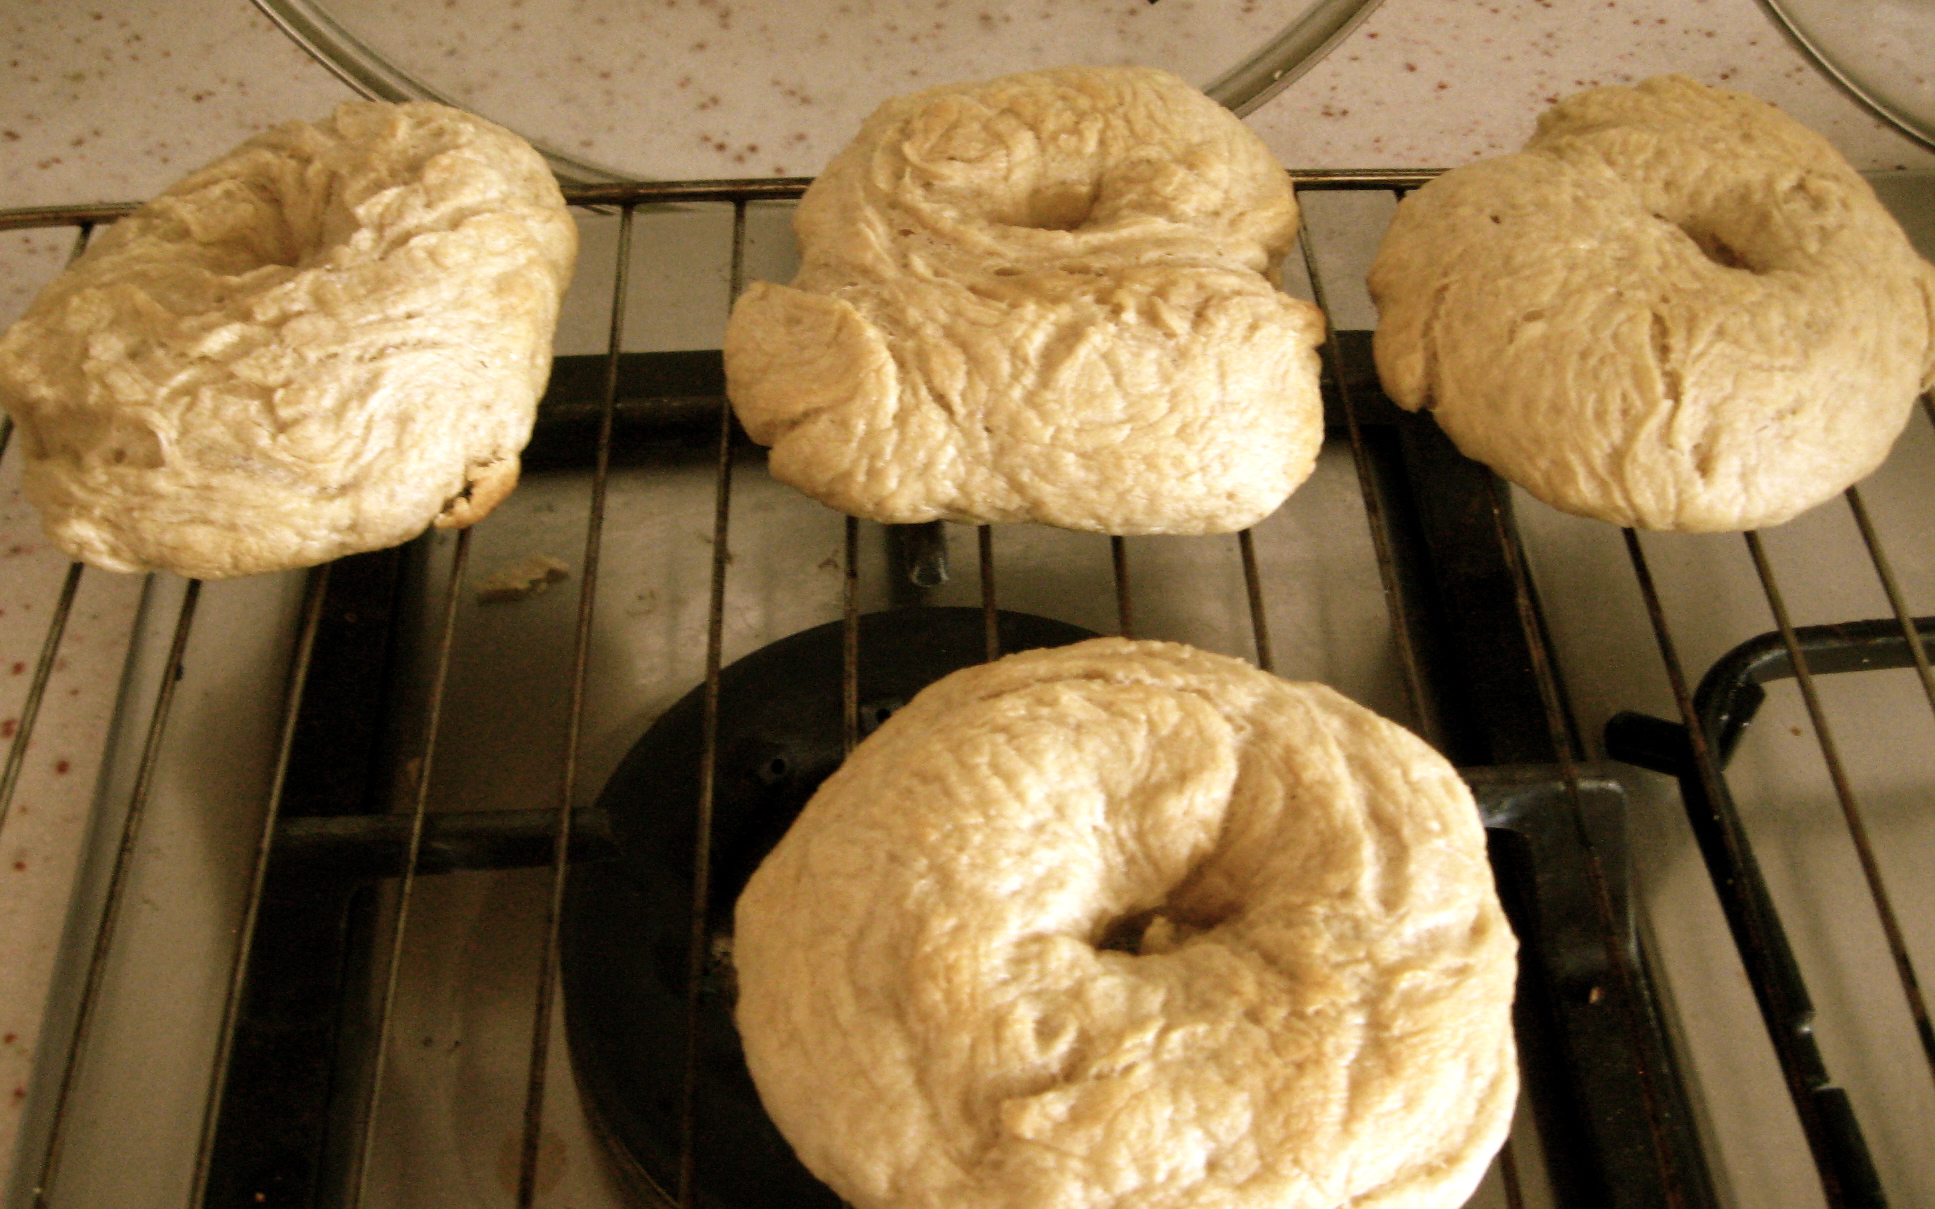
Kind peoples of the Intarwebs, I’d like to introduce you to my attempt at making bagels in Shanghai.

I’d made bagels once before. I was probably still a teenager as I remember making them in our kitchen up in Cowichan, deep in the woods of Vancouver Island. That was back when I was a very determined barefoot hippie who was convinced that making whole grain yeast breads would confirm my identity as someone with a powerful connection to the earth and its bounty. Also, I was under the woeful misconception that the rare local earthy-artsy boys might find it adorable and want to date me. I was wrong on both counts. The bagels, however, turned out rather well, if I remember correctly. That was about 20 years ago, however, in a kitchen that had all mod cons and access to all necessary ingredients.
Welcome to not-very-well-thought-out bagel making in Shanghai.
Last night, I was perusing my usual stash of food porn after a long weekend of doing mind-numbing speaking tests in a tiny, spartan room out at East China Normal University, with a only a semi-sunny window that looked out over a construction site and an endlessly topped-up plastic cup of loose leaf green tea as my constants, when I came across a bagel recipe.
Bagels are super easy, I thought to myself. And you can get yeast in China. And they don’t require any equipment or ingredients that I haven’t already used here. Awesome, I thought. I’ll have a freezer full of home baked bagels by tonight, which can be joyfully toasted and slathered with garlicky home made cream cheese (AKA extra-drained ricotta). Doug was very excited about the prospect as well, which spurred me on to start making them first thing this morning, without carefully taking inventory or reading through the instructions methodically. After all, I know yeast breads! I’ve been making bread and focaccia and that one batch of teenage bagels since I was knee high to a very, very tall person. I can do this! Yay! Yeah. Um. Right then.
This is the bagel recipe I used, from a rather pretty food blog that was a lot more convincing than any of my previous lazy google searches. She’s a chef!
Homemade Bagel Recipe
1 2/3 cup warm water, plus more to boil bagels
3/4 tsp. active dry yeast
2 tbsp. sugar (I have brown sugar)
4 1/2 cups bread flour
1 1/2 tsp. kosher salt (I have table salt)
1/2 tbsp. olive oil (I have sun flower oil)
optional toppings: sesame seeds, cinnamon sugar, poppy seeds, sauteed onions, cheddar cheese and jalapenos
See? Very Sino-friendly! I have all of those things (approximately), for the first time in my experimental culinary career. Except for one small thing. The yeast. I have instant yeast. Not dry active yeast. There is a difference. My Dad gave me a 1lb bag of it when I was back in Canada this summer. Yes, a pound of instant yeast. It’s up there with the kilo bag of nutmeg I came across last week at the Metro Hypermarket in Longyang Lu. I’m having visions of The Simpsons in my head.
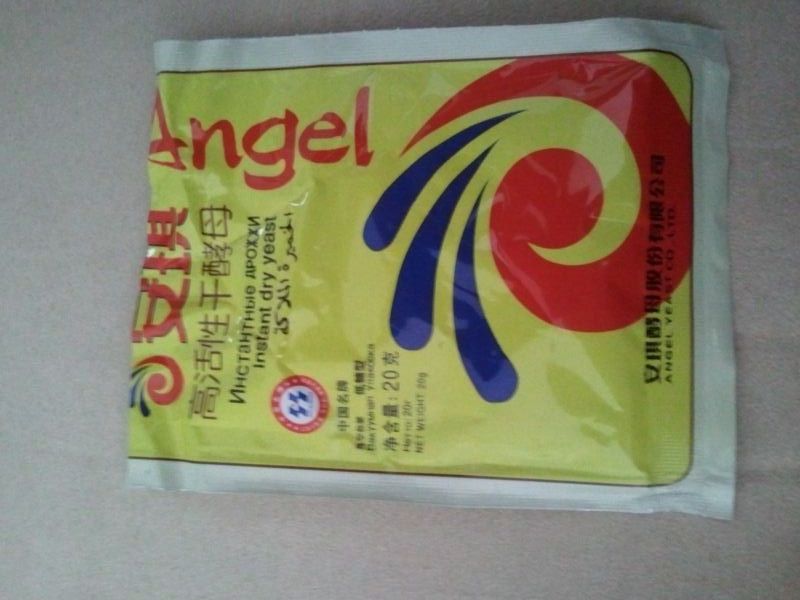
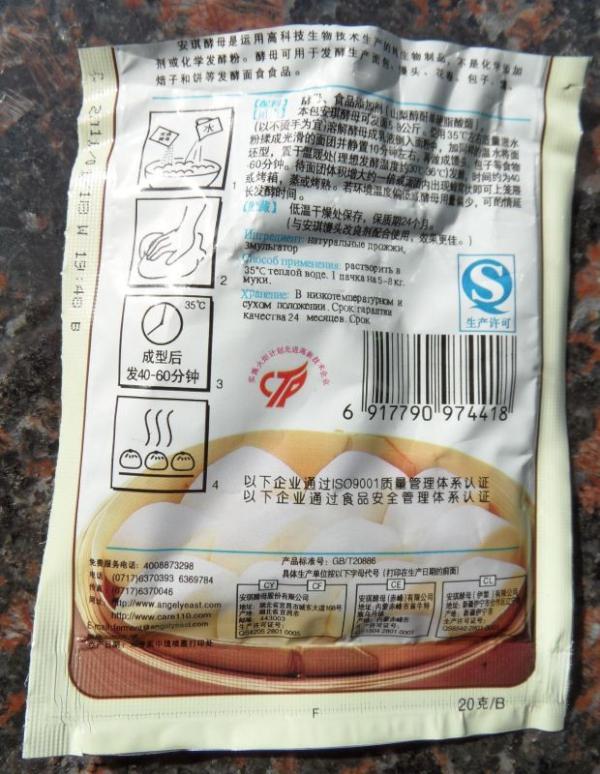
After a bit of research (AKA asking everyone on Twitter) I found out that you can also get instant yeast in China. It’s apparently a Russian brand. This is the photo I was sent by the always helpful Steve.
Now, you may ask yourself, so what? Yeast is yeast and west is west and… (*smacks self across the head*)
The thing is, dry active yeast and instant yeast are a bit different. I’m used to the former but I have the latter and hadn’t actually used it until now. On the packet, it said to add the yeast directly to the flour, stir it a bit with a wooden spoon, then proceed as normal but with an extra bit of tepid water equivalent to twice the amount of yeast used. Fairly straight forward.
This is what I did.
In my rice cooker bowl, I scooped out the flour. Or rather, I scooped out 3 cups of flour with my Canadian-bought measuring cup then realized I was very nearly out of flour. Then I realized that my Canadian one-cup measure was 250ml but my Chinese measuring cup was 180ml.
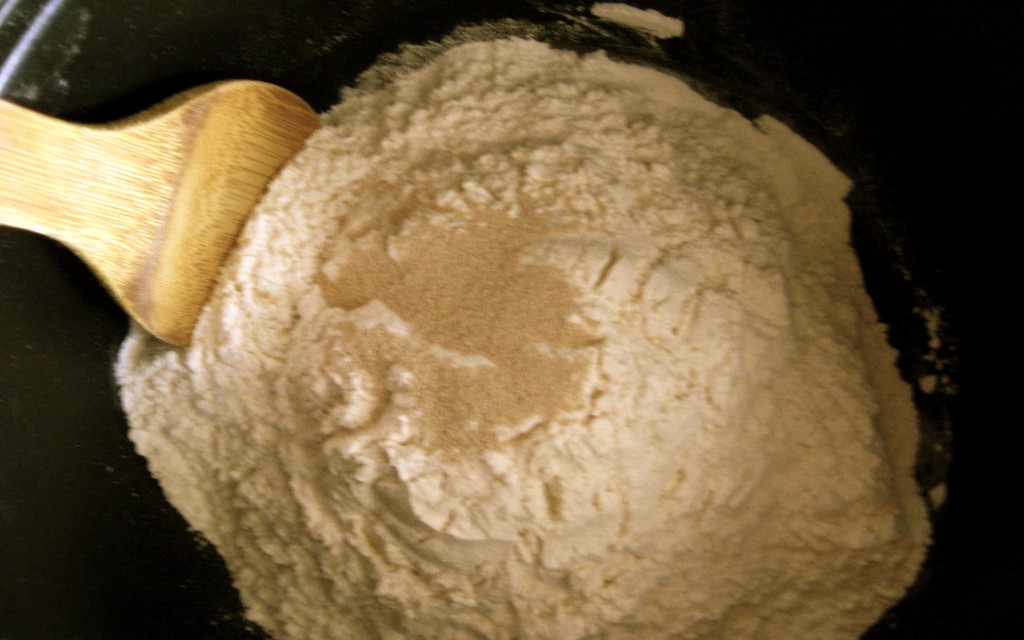
I asked Doug to google what a cup actually was, millilitre-wise and he said it was 236ml, which was equivalent to neither of my cups. I became very confused and so just dumped out all of flour I had into the crock pot’s clay insert and methodically scooped it back out, counting how many 180ml scoops and how many 250ml scoops went into the mixing bowl. After getting Doug to haul out his phone’s calculator to add up all my scoops in millilitres and then divide them by the 4 or so cups the recipe required, I found out that I had exactly enough flour to make the bagels (approximately). I enthusiastically added the instant yeast and gave it a stir with the wooden spoon. I was totally on track with this.
In another bowl I added the tepid water (AKA a bit of boiled water mixed with cool water) and the sugar (the usual clumpy brown stuff). I mixed the liquids into the flour and yeast mixture, adding the salt, stirring the dough into a lovely little ball, pleased that everything was going so smoothly.
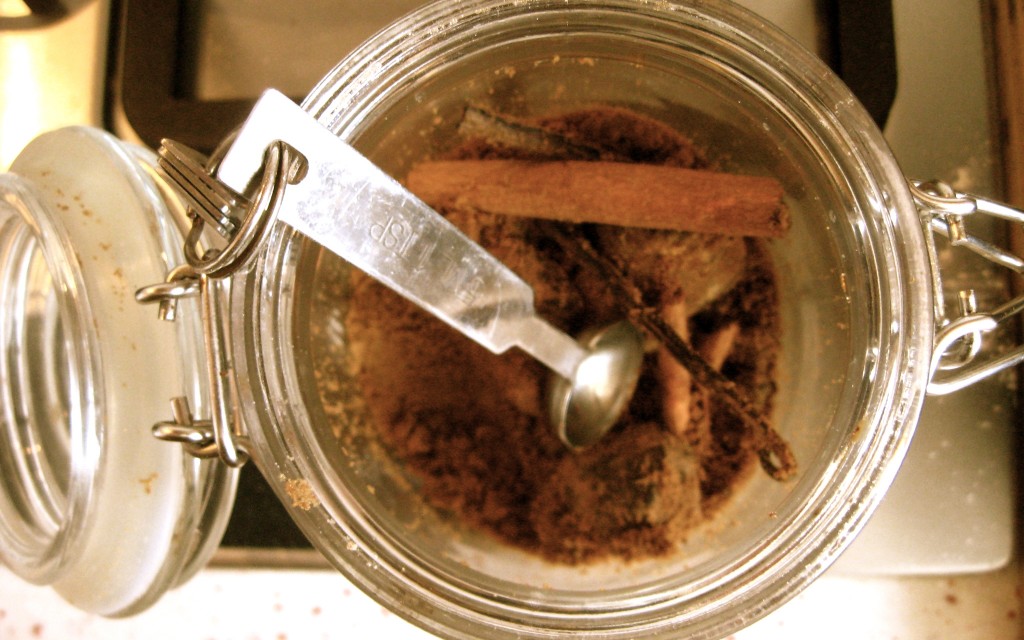
My initially delighted reaction quickly turned to panic when I remembered that yeast breads need lots of flour for kneading. I had used up all of my flour already and now that I had activated my instant yeast, I couldn’t exactly run out to the shops to buy a new bag.
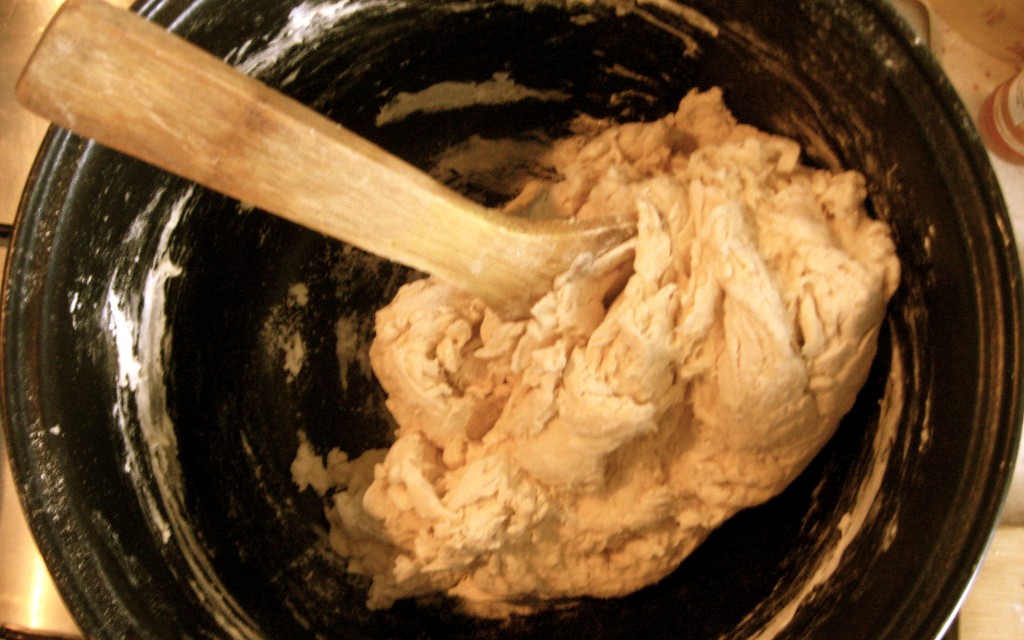
So I got out the buckwheat flour. Which isn’t even a wheat, technically. And which is brutally unglutinous. And which makes for a terrible, terrible kneading flour as the texture is oddly squeaky.
I dusted the cutting board with buckwheat flour and kneaded. My dough was very sticky and begging for more flour. My hands were becoming thick with stuck dough. The cutting board was thick with it. I had to keep scraping it off with my finger tips to keep it from accumulating indefinitely. I kneaded for about 8 minutes then threw the hopefully-kneaded dough into the lightly oiled clay crock pot bowl, covered it with a tea towel and went to clean up the doughy, floury disaster area I’d left behind. I scrubbed my hands for about five minutes, trying to get the gluey wet dough off.
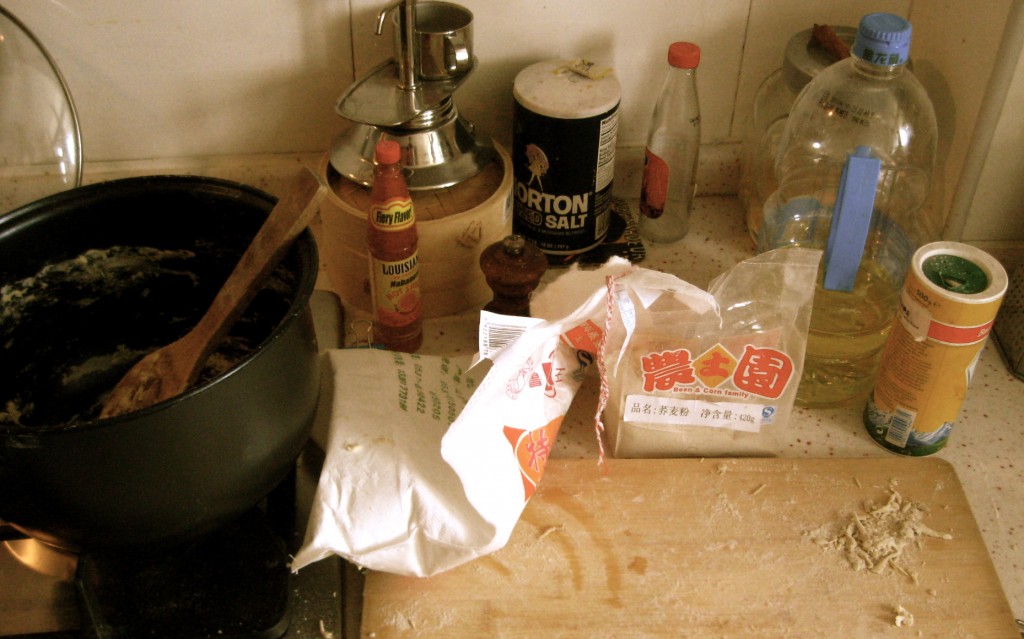
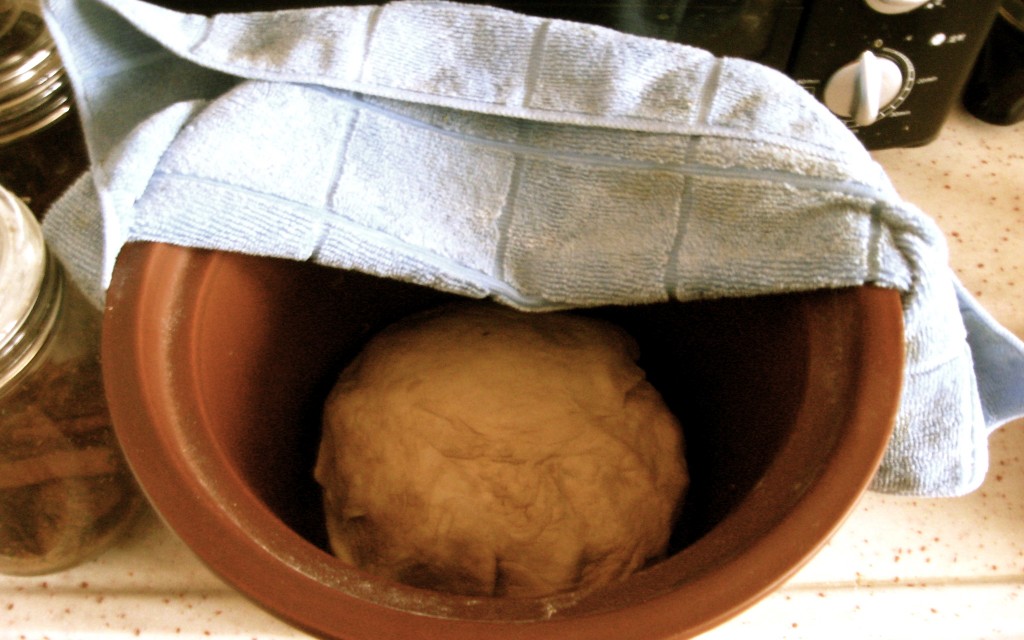
Then I made a huge pot of coffee and tried to forget about it all for a few hours while the dough attempted to rise in spite of my carelessness.
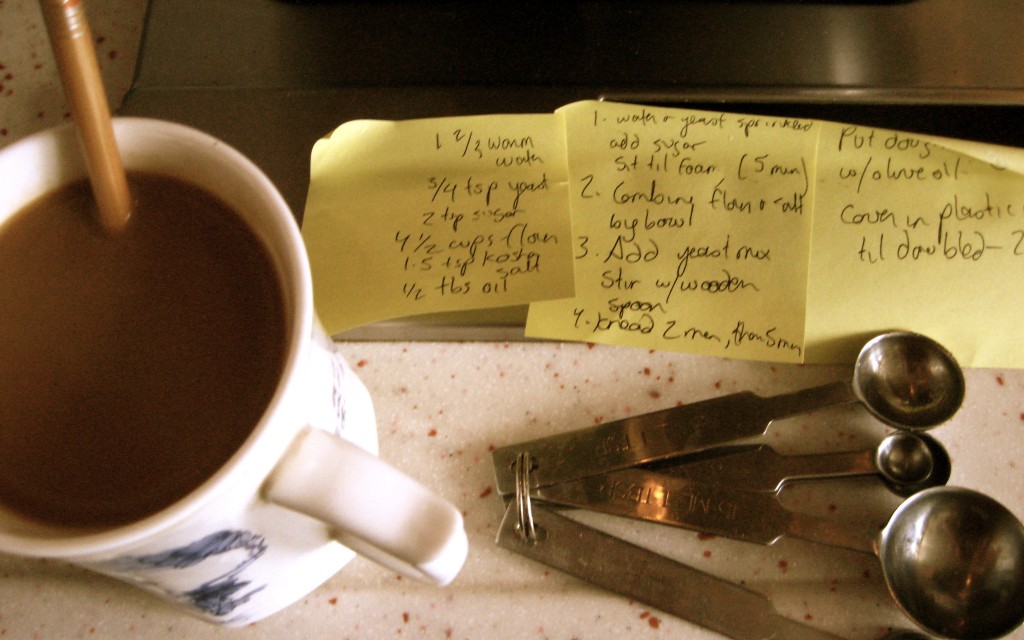
By the hour and a half mark, the dough had definitely risen in a convincing manner and the kitchen smelled delightfully yeasty. So far so good. The directions (which I’ve copied and pasted at the bottom of this post so you can have real instructions rather than my crappy ones) said to let it all rise for 2-2.5 hours. So I did.
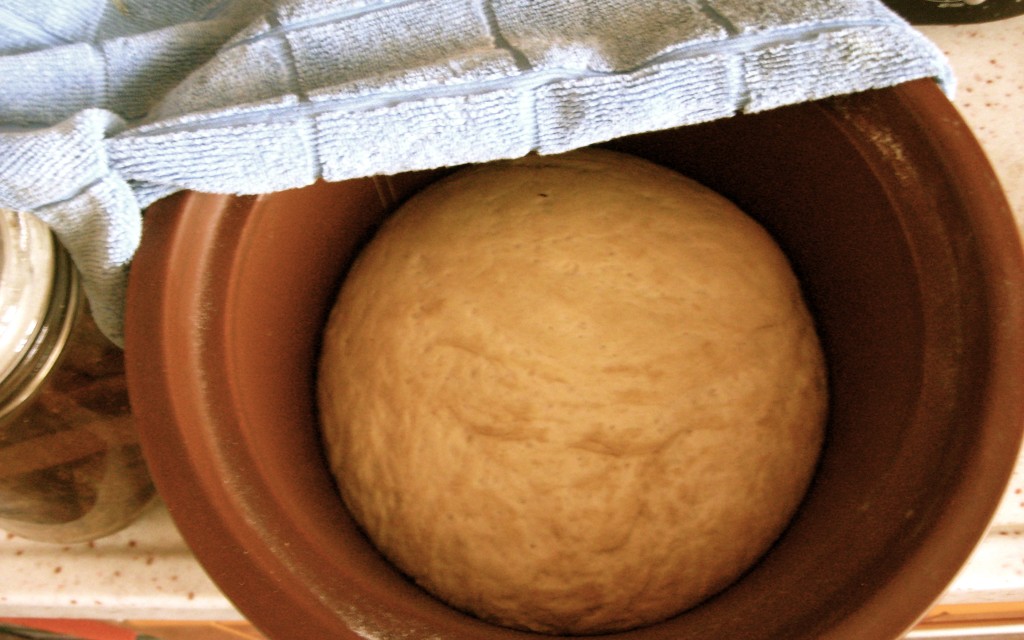
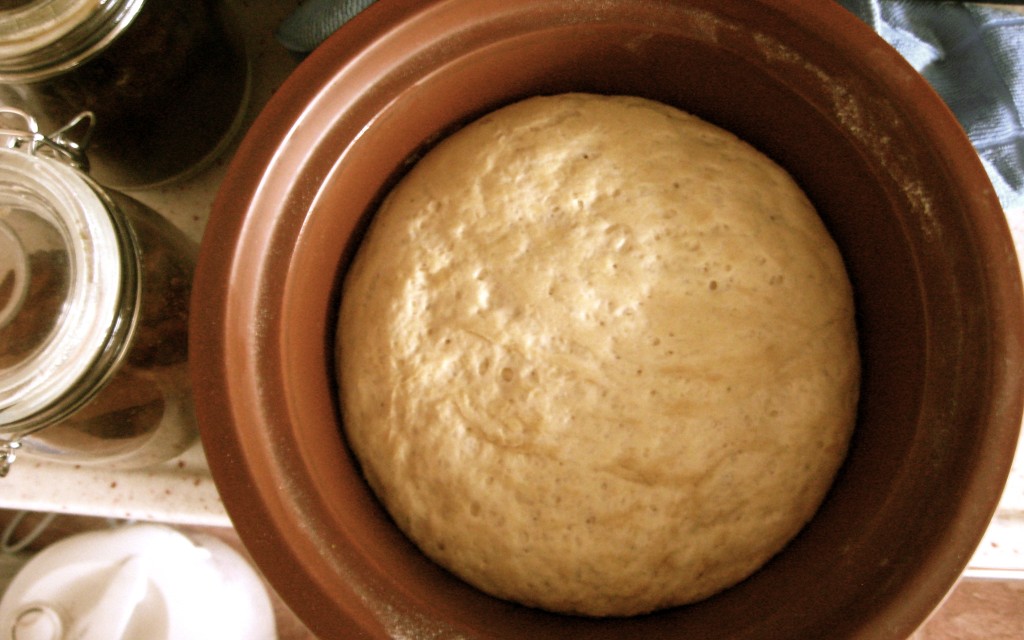
During the second half of the 2.5 hour rising period, I managed to get dressed and go out of the house to buy groceries, which were desperately needed as we’d worked clear through the weekend and had very little left in the fridge besides beer, condiments and a lot of lettuce. At the grocery store, I bought more flour. I also noted that you can indeed buy that Angel instant yeast, in single serving packets (1rmb) as well as bigger ones (6rmb). I also tracked down organic Chinese rye flour (35 rmb) and corn flour (Sino masa harina? For 6rmb? Yay.) Also got more buckwheat flour (6rmb). Just so you know.
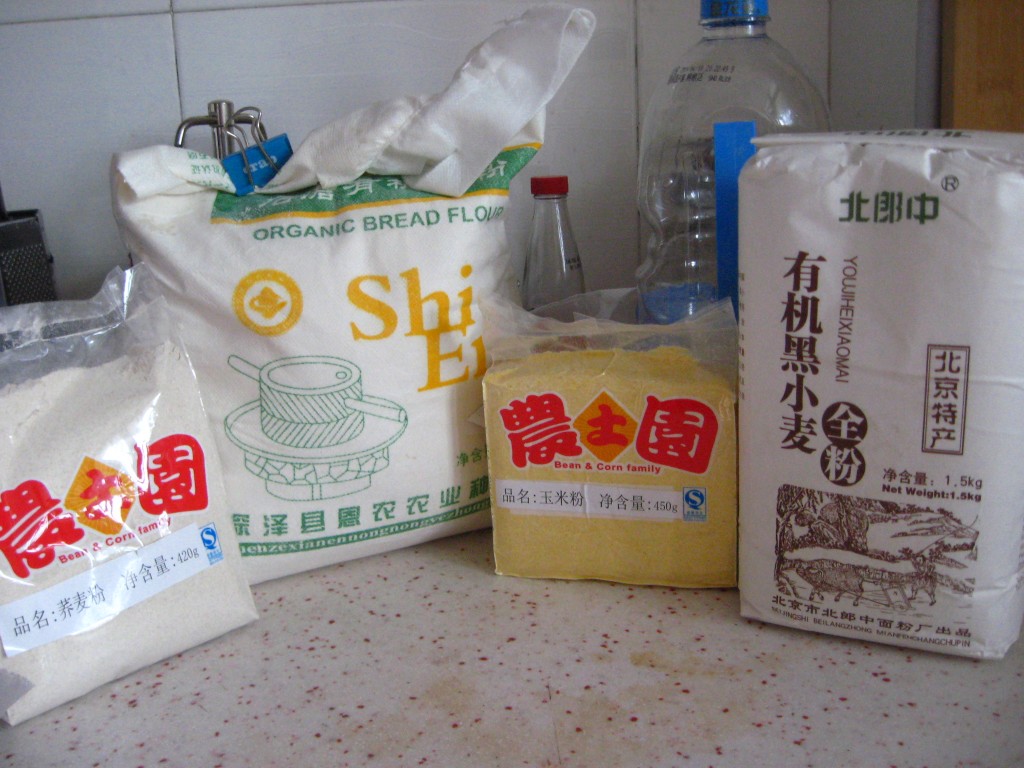
My grocery shopping foray was quite epic and I ended up getting home at nearly the 3 hour mark of the rising. The dough was fine. Puffy but fine. It had stretch marks but was otherwise okay.
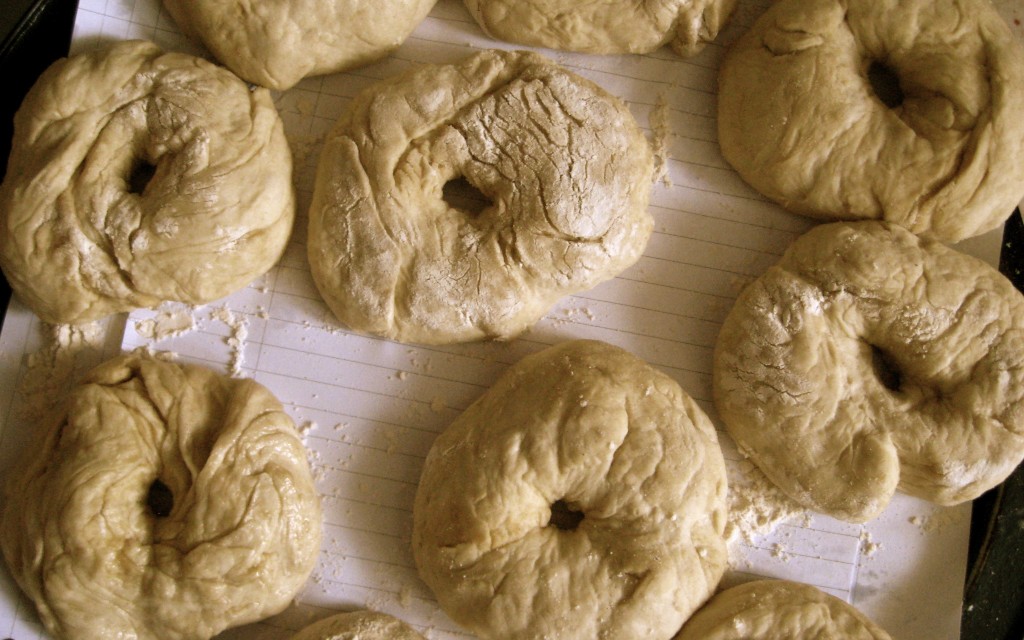
The recipe said to divide it up into ten dough balls, so I did. Luckily I’d bought the new flour (see big bag above) and so could dust the dough balls to make them not so sticky. Unfortunately, I hadn’t done that with the first two dough balls and they stuck to me and to the baking sheet I laid them on. Much hand washing and sheet scrubbing ensued. I resumed my task with floury hands and a flour-dusted piece of loose leaf note paper placed over the baking sheet, for good measure. After I made 10 balls, I poked a hole in each one with my finger and let them rest for 20 minutes. They were pretty ugly, as far as bagels go. I was starting to seriously doubt myself.
I then scrubbed all the oily garlic detritus out of the wok and got some water boiling. The thing that separates bagels from other bread products is that you boil them briefly before baking them. You throw a few into a pot of boiling water for 30 seconds then flip them and boil them for another 30 seconds. Easy peasy.
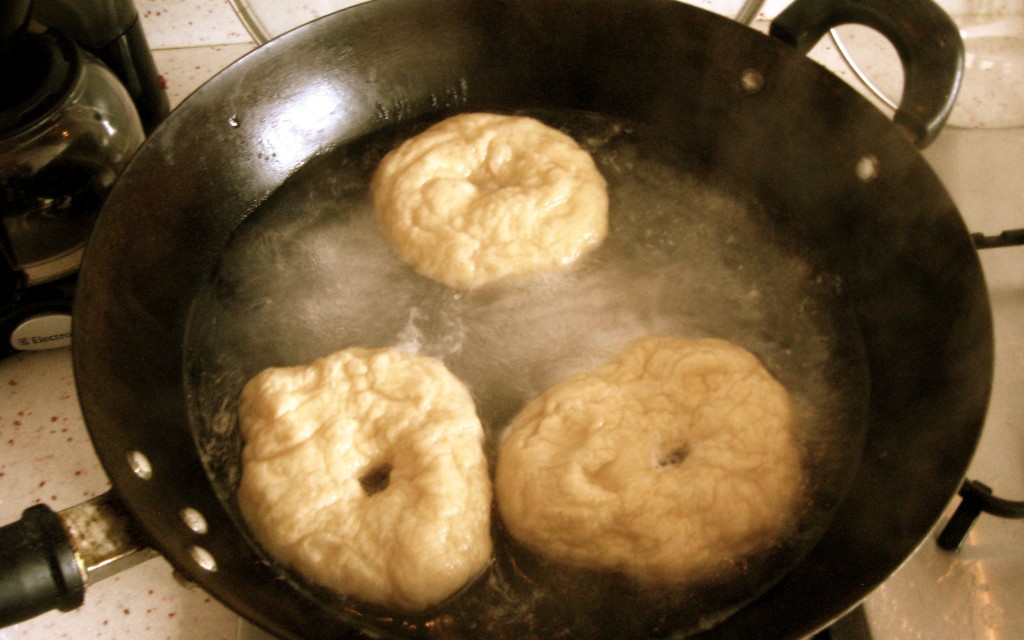
The instructions called for parchment paper placed on top of a baking sheet. I don’t own parchment paper. I have, however, successfully used greased note pad paper for cookies and scones so I did the same for the bagels. When my boiled bagels were done, I scooped them out of the wok, drained the excess water, and placed them gently on the oily note paper.
I preheated the oven to the required temperature (500F/250C), though I don’t think it ever actually reached it. I ended up with two baking sheets of note-pad paper bagels. I experimented a bit here: One had oiled paper and the other had floured paper.
The instructions got a bit complicated at this point, so I brought my poor laptop out and put it on top of the fridge and tried not to get the touch pad too filthy.
The thing is, you put them in for 5 minutes at that super high temperature, then turn it down to a lower temperature (350F, 180C) and bake for another 8-10 minutes, then take them out and flip them and put them back in for another 5 minutes.
A few problems here.
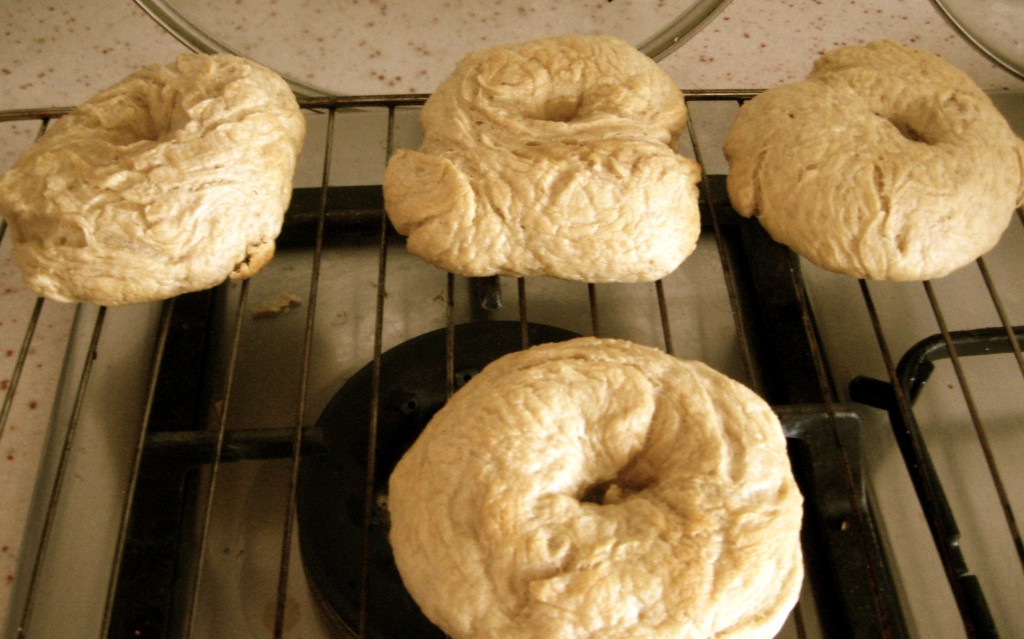
My oven’s temperature gauges are a bit iffy and I’m not sure it ever reached the required initial temperature. Also, I’m not sure it successfully went down to the lower temperature in a timely manner. And finally, my improvised parchment notepaper was an unmitigated disaster. Both the floury notepaper and the well oiled notepaper ended up thoroughly absorbed into the dough. Seriously. When I pulled the bagels out to be flipped, I ended up having to slice each bagel away from the paper with my big old knife. I then greased the baking sheets directly and put the decapitated bagels back in, flipped over to continue baking.
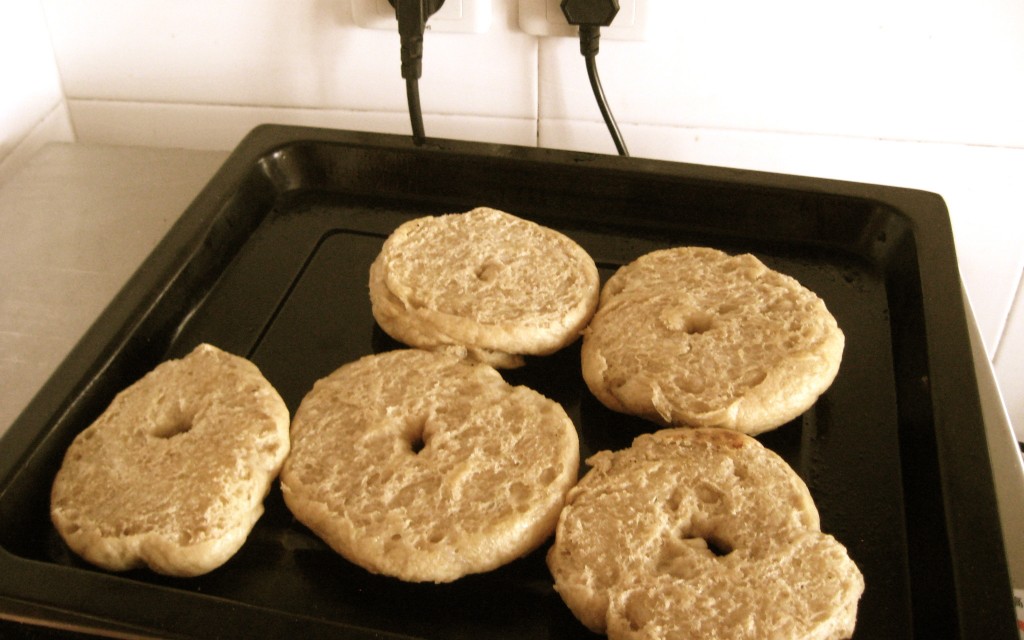
And you know what? They were fine. They were awesome. They are awesome. Aside from their shorn nature, they turned out beautifully. Chewy, light, soft. Quite possibly the best bagels I’d had in ages, if you ignored their sheer ugliness. I had one with a little butter and forest berry jam and it was utterly magnificent. Seriously. Ugly but magnificent.
If you want to follow the real instructions from the website, here you go:
The Real Directions
Fill a small bowl with the warm water and sprinkle yeast, followed by sugar, over the water. Let sit until foamy, about 5 minutes. Combine bread flour and kosher salt in a large mixing bowl. Add yeast mixture and stir with wooden spoon to incorporate. Knead until sticky dough forms, about 1-2 minutes. Continue to knead for an additional 5 minutes. Transfer dough to a large bowl lightly rubbed with olive oil. Cover bowl with plastic wrap and let sit until doubled in size, about 2 to 2 1/2 hours.
Divide dough into 10 equal portions and form into balls. Lay each ball on baking sheet line with parchment paper, cover again with plastic wrap and let rest for 20 minutes. Line 2 additional baking sheets with parchment paper and set aside.
Take each ball of dough and, using your hands, poke a hole through the center with your thumb and stretch/shape as needed to form bagel. Lightly oil your hands if dough is too sticky. Place formed bagels on baking sheet about 2 inches apart. Cover lightly with plastic wrap and let sit an additional 20 minutes.
Preheat oven to 500 (250C) degrees.
Heat a large stock pot full of water over high heat and bring to a boil. Carefully drop bagels, one by one, into the boiling water. Take care not to crowd the bagels, dropping in only 3-4 at a time. Boil bagels for 30 seconds on one side, flip and then boil for an additional 30 seconds. Remove bagels with slotted spoon and then place on baking sheet. Add toppings, if desired, at this point. Quickly place bagels in oven for 5 minutes. After 5 minutes, lower heat to 350 (180C) degrees. Bake for an additional 8-10 minutes or until golden brown. After golden brown, flip the bagels over and bake an additional 5 minutes. Remove from the oven and let cool on wire rack.
You May Also Like
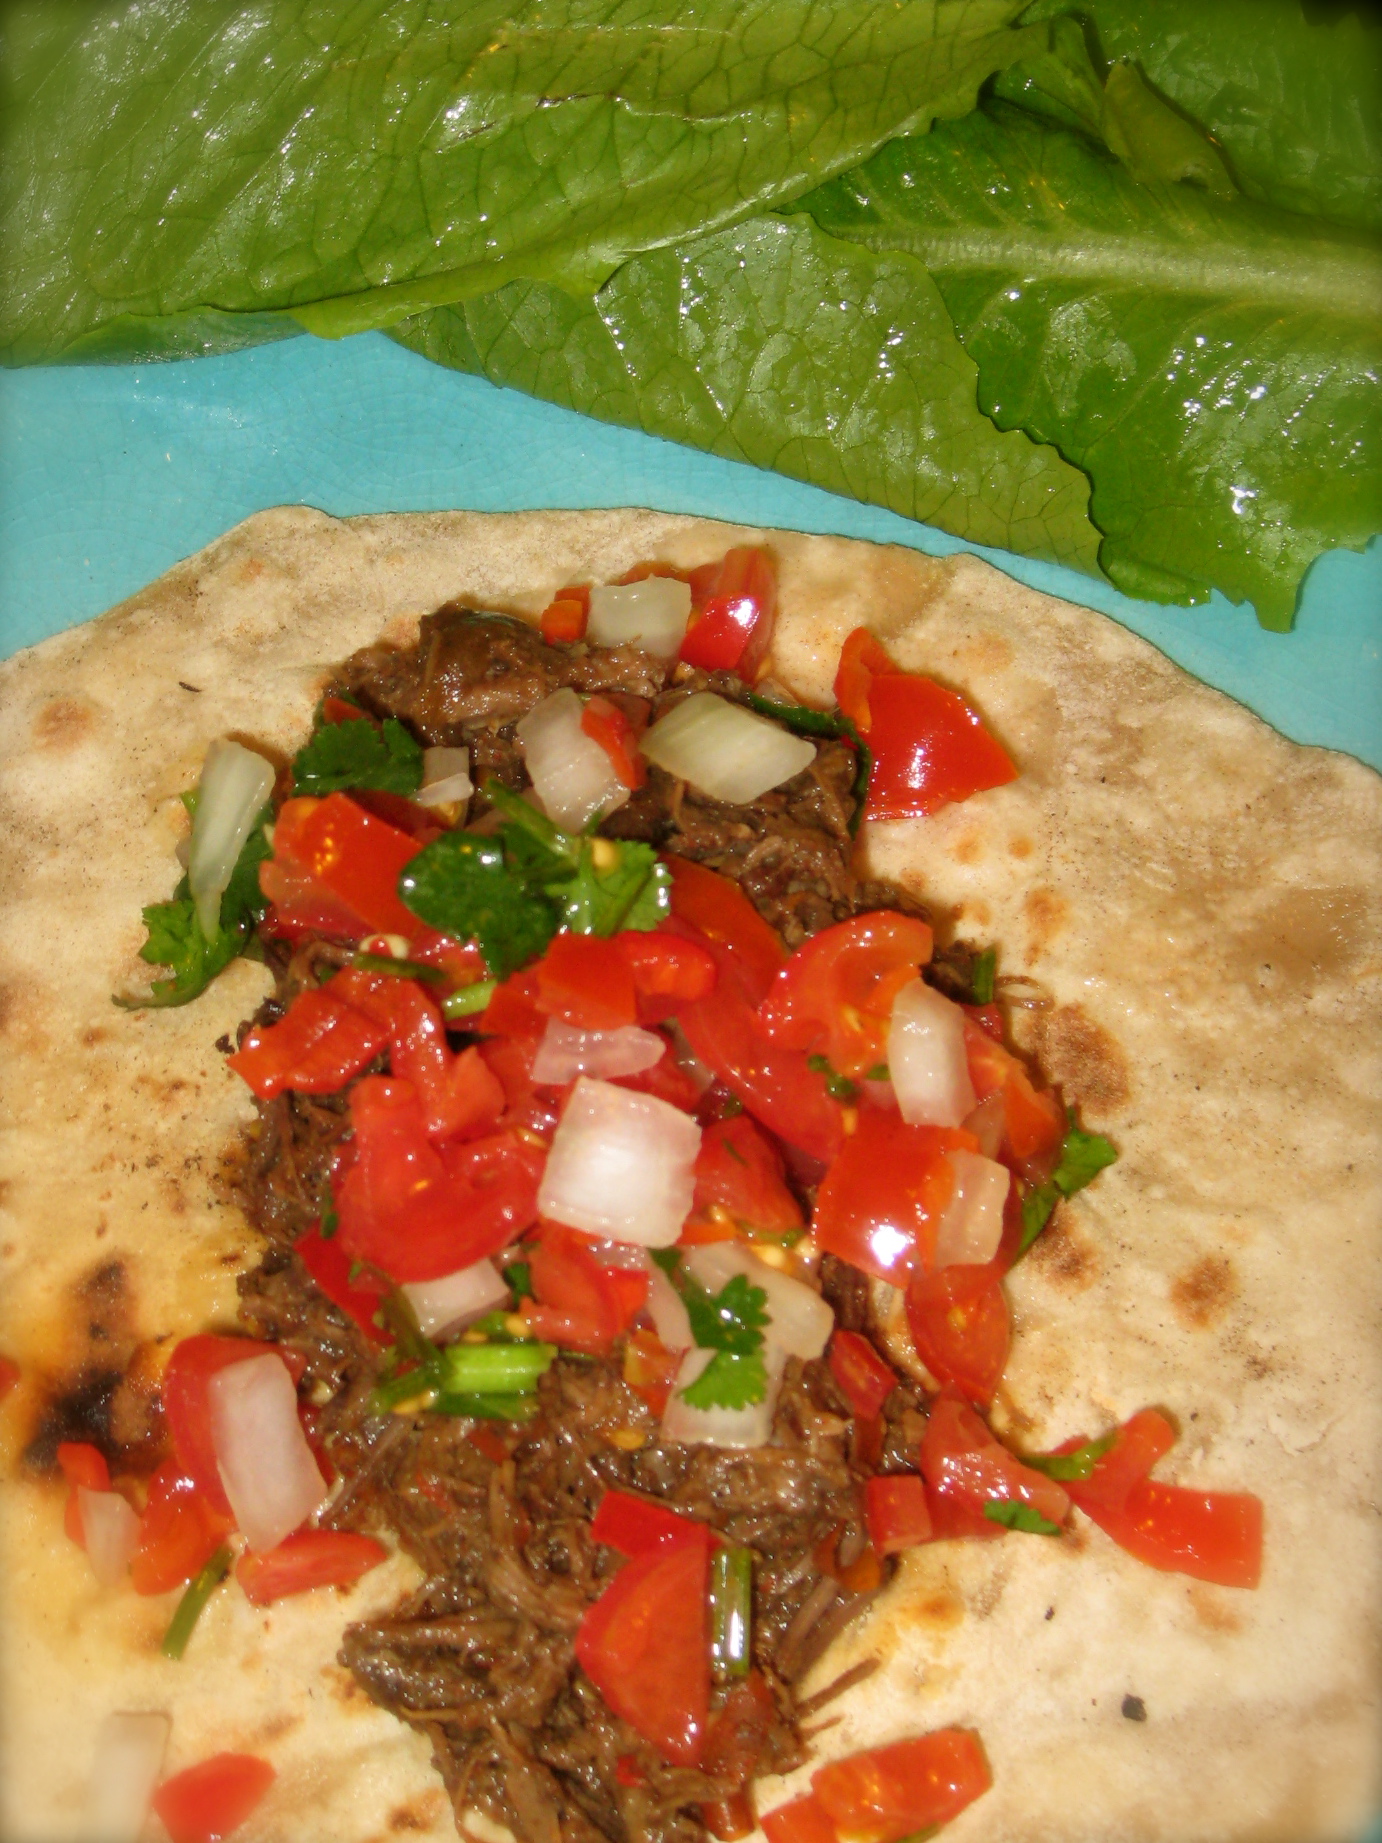
Awesome Slow-Cooker Spicy Shredded Beef Tacos
January 2, 2012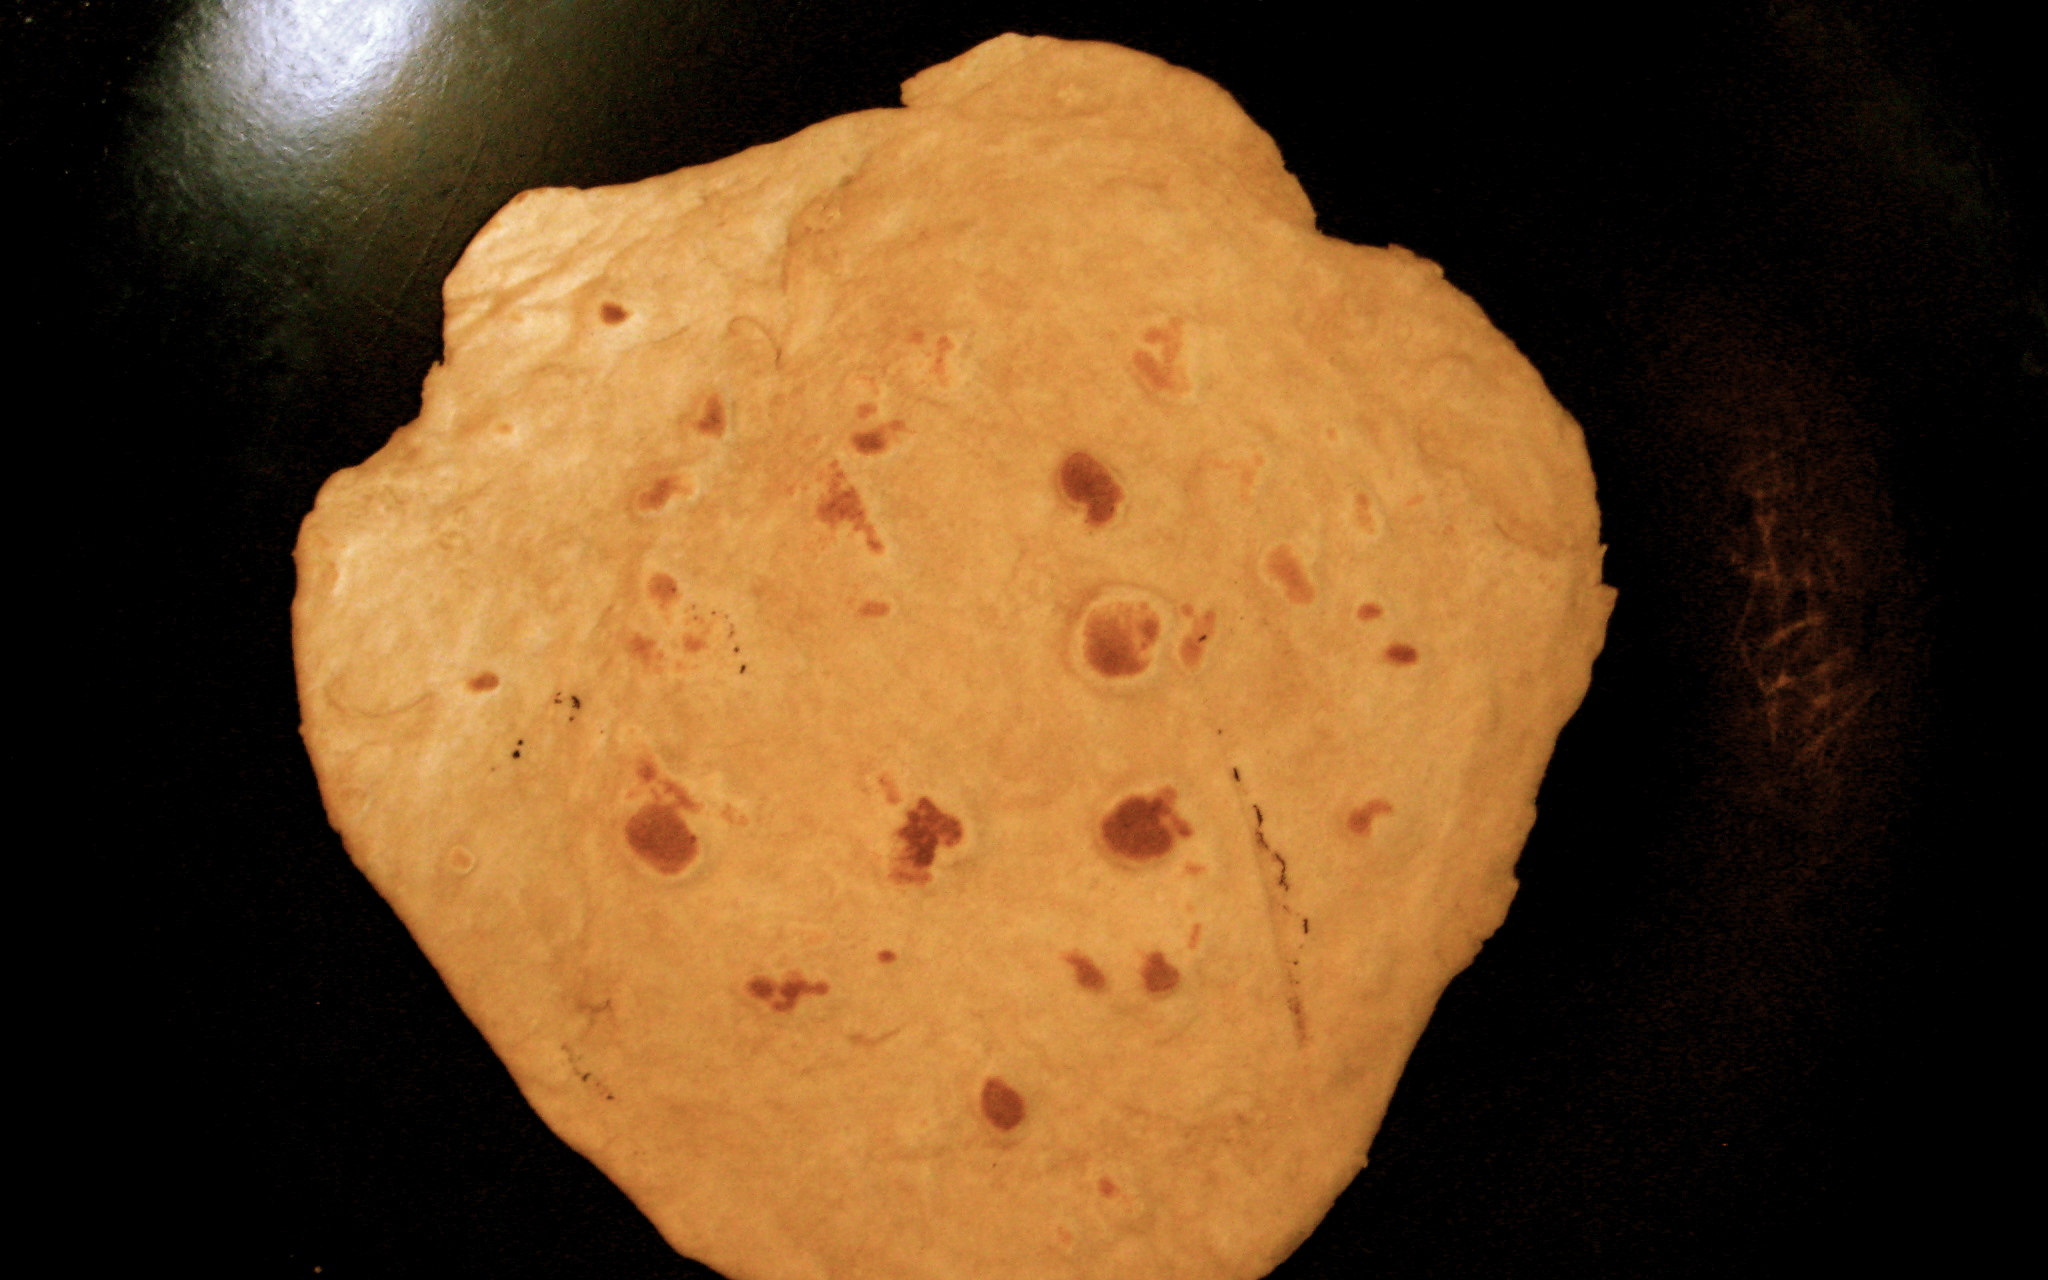
A Tale of Two Tortillas
September 21, 2011
13 Comments
lacey - a sweet pea chef
I’m glad you enjoyed the bagels! Thanks for the link back 🙂
lacey – a sweet pea chef recently posted..Homemade Tortillas
Mira
I got here via Unbrave Girl and then your other blog and this blog is right up my alley: living in China, unemployed and spending a lot of time first googling recipes and then running around various wet markets and supermarkets to get all the ingredients (or as close as I can get to them…usually in family-size packs from metro – seriously, who needs 2kg of ground cinnamon?) just so I can whip up non-Chinese food recipes whilst cursing the size of my miniscule kitchen and the gas stove that keeps cutting out, the fact that Walmart appliances seem to only withstand 2-3 uses and thinking that I should really splurge on a toaster oven sometime soon.
Looking forward to upcoming trials (and errors?) especially regarding dairy!
MaryAnne
Lovely to see you here! Totally feel free to make any requests. I’ll definitely be attempting more dairy though it’ll be limited by the fact that I haven’t been able to find rennet at all (have you, by any chance?). I’ve been making yogurt for a while with a little thermos device a friend gave me but was thinking of trying out the toaster oven method to see if that works so that others may do it too. I’m thinking of marscapone but have yet to find whipping cream or even just heavy cream. I totally recommend a toaster oven, by the way– ours has totally changed my life for the better! I had over two years here without it and now I can’t fathom not having access to baked goods that aren’t, well, spongy sweet bread and dodgy pastries covered in fish fluff. I’ve seen them on sale at Metro. And really, I’d splurge a bit if you can and get a larger one with full temperature control and upper/lower elements and not just basic toast abilities (I saw those there too).
Good luck with your attempts!
Fiona at Life on Nanchang Lu
Sometimes you overwhelm me with your baking!! Seriously good looking (well, maybe only a bagel mother would love them) but I bet they tasted great!
Fiona at Life on Nanchang Lu recently posted..A Nyonya Primer: Cafe Sambal Shanghai
MaryAnne
They are ugly, aren’t they? But oh, so yummy! I’m currently on an all-bagel diet (3 a day!) with various, um, meal supplements like leftover soup and some veggies. Can’t live by bagels alone, though apparently I’m trying. Need any yeast? Am working on a super sekrit baking project for our Friday Rendez Vous…
Tom
Just finished making this with my wife and Casey, they turned out amazing! Thanks for this easy recipe, and the yeast tip, in import stores they charge about 6rmb per packet, but this stuff cost just 1.1rmb.
Opal
I’ve just been catching up on all your posts – I love them. This is my kind of cooking!
MaryAnne
You mean the very un-photogenic results and chaotic preparation? Have you seen the roasted pumpkin soup I put up yesterday? I think you might like it. Very cozy.
Tracyann0312
Hi Mary Anne! Yeast is really complicated to do because it is thick. Also, it is getting thicker if you put a little water. So how was the experiment going using the oil paper and the flour paper? Can I request to you? What are other things you could cook without using oven? Thanks for the recipe.
Tracyann0312 recently posted..דיוור אלקטרוני
MaryAnne
For the bagels, the paper didn’t work- the wet boiled dough stuck to it, both floured and oiled. I think I’d just do an oiled cookie sheet in the future. Yeast is a bit tricky but I’m experimenting with it. More to come soon (I’ve been away on holiday for a month).
TracyAnn0312
I do love that you have shared these recipe. My parents will love to have such kind of food.
Yeshi
Hi!
Oh, thank you for your lovely bread recipies! I have forwarded them on to a friend who wants nice crusty bread. He lives in northern India.
I had to sigh fondly when I read your blog; my daughter(then 4) and I lived in Chengdu, in Wa Hu Za in 2007. I love baking bread. I got a heavy cast iron pan from the market(didn’t use the wok) and made scones, breads, and tortillas on it. I also did pizza. We often would pop over to Carrefore for cheese.
I think we don’t anticipate how much work it is to eat our favorite foods when we move abroad. So it’s good when people like you share what you know.
My kiddo and I are going back to northern India to stay, next spring! I can’t wait, but I am for sure bringing a cast iron pan with me to make bread! I am also considering making a rocket oven to bake bread in. Youtube has some great videos.
Thank you!
Yeshi
MaryAnne
Hello! And thank you! Sorry for the delay at getting to your comment- I’ve been internetless a lot lately. Back in Canada, hanging out in the woods and all.
It’s amazing how much you can do with just a wok and a toaster oven. It’s weird being back in Canada and having access to all the things I used to struggle to make from scratch… and I find myself still making those things from scratch! Wherever we end up next, I fully intend to have a great cast iron pot to make all the great things with… I made stove top English muffins from scratch last week (even though they were cheap and plentiful at the supermarket).
All the best to you!