Killing My Crock Pot Softly With Yeast Breads
I’m not, I admit, one of those pretty food writers. I’m not talking about me and my bad hair and naked face and un-manicured nails, mind you- I’m talking about my food styling abilities, or lack thereof.
I’m also not good at pretending that things turned out okay. Like that time I made those Suzhou hockey pucks. Or the biryani that was a bit, well, stodgier than anticipated. Or the crackers that weren’t quite as crackery as hoped. As long as it’s on the high end of edible, I’ll post it, looks be damned.
Which is why I’m writing about my Great Crockpot Bread Experiment.
Which, well, didn’t go quite as planned.
I had done my research. There are a lot of recipes out there telling you how to make bread in your crockpot. Very detailed ones from reputable cookbook authors, ones with hundreds of cheering comments at the bottom.
I was going to do the ultimate laowai baking experiment: baking bread in China without an oven, not even a tiny, crappy toaster oven. I had already made cake in a rice cooker and wanted to take it one step further.
Bread! YEAST bread!
Yeah, no.
Let’s start with the dough, which was actually the successful part of the experiment.
You know how I like to keep a ball of Xinjiang noodle dough in the fridge for tortilla/pasta/chapati emergencies? I thought I’d add a yeast dough stash to my repertoire.
This 2-loaf, no-knead dough rises for a few hours at room temperature, then can hibernate in the fridge for up to 3 weeks, getting fermentier and glutinier over time. The texture of my first loaf (actually pull-apart buns) was quite different from the loaf I made from the remaining dough a week later. Both were awesome but in very different ways. The first was light and fluffy, the second denser, chewier.
I stored the dough in my rice cooker insert in the fridge, with a plastic bag shoved over the top to cover it. In the recipe (<— see link), they used a sealable Tupperware container. I couldn’t find any the right size though. So, plastic bag and insert it was.
No Knead Refrigerator Yeast Bread
- 3 cups warm water (if in China, use bottled)
- 1.5 tablespoons yeast (I used instant but the recipe calls for active– both fine, apparently)
- 1.5 tablespoons salt (I used kosher)
- 6.5 cups of flour (I used 6 but they were slightly heaping)
The Process
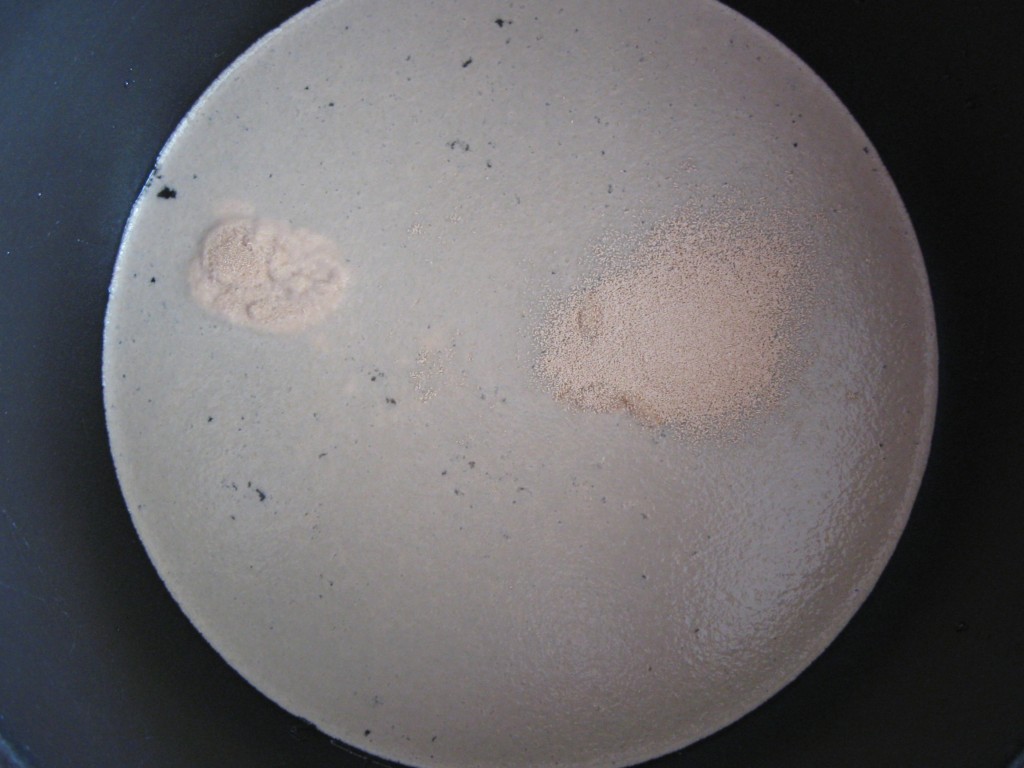
Pour the warm water into your container. They say to add the salt first but I added the yeast because I wasn’t paying attention to the instructions. Give it all a stir.
Add the flour and spatulate the hell out of it until all floury pockets have been mixed in. Doesn’t take long.
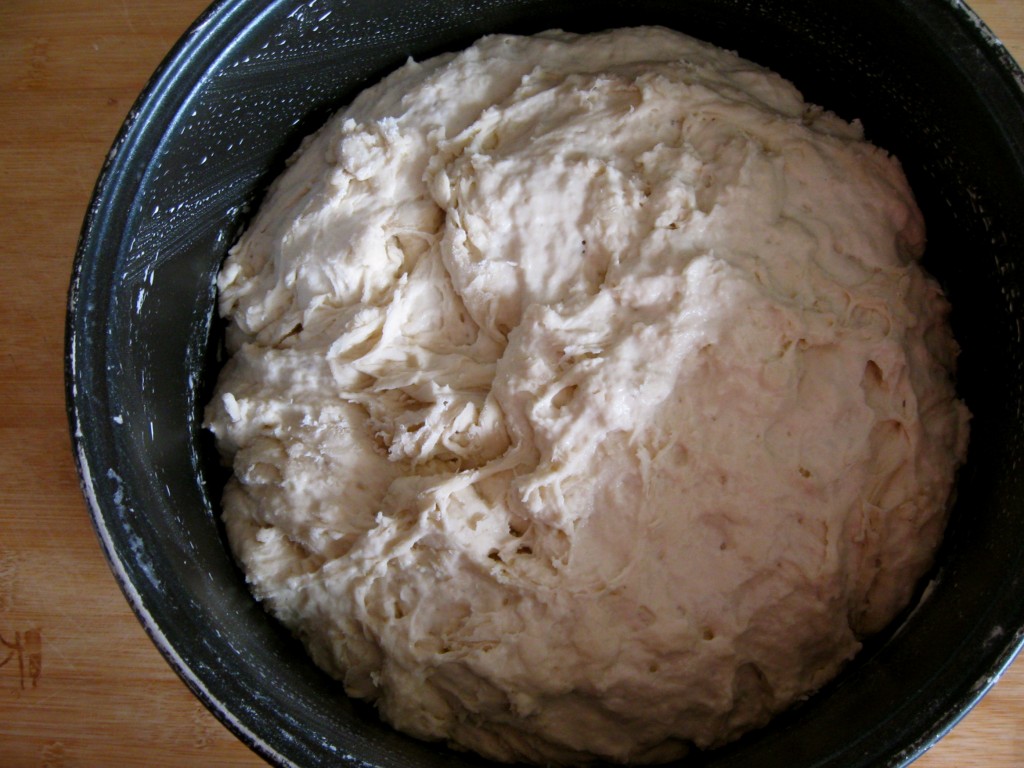
Cover it and let it rise for about an hour and a half to two hours. I let mine go for 2 hours. Considering there was no sugar in the mix to feed the yeast, I was amazed by how much it rose. By the end of the 2 hours, it was up to the rim of the insert.
Below is where it was after only an hour.
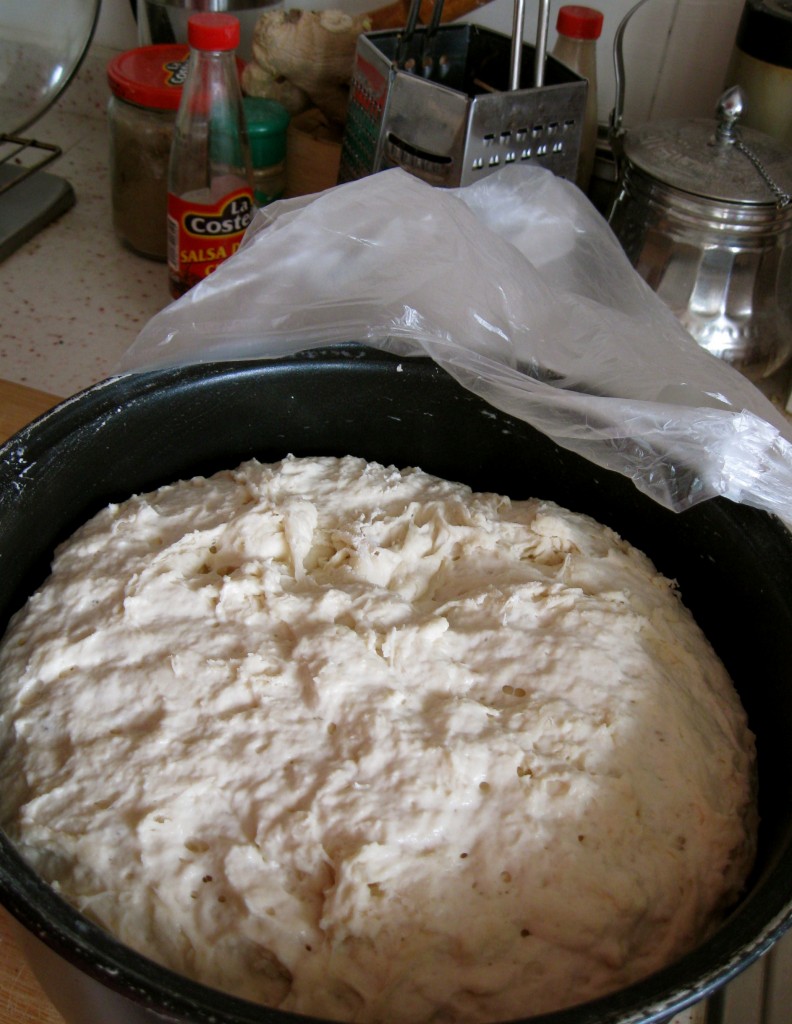
After letting it rise for a few hours, you can shove it in the fridge and forget about it.
I retrieved mine a few days later. I decided I wanted to make pull-apart buns in the crock pot. Because, you know, research told me I could.
The idea was that you line the insert with parchment paper, blob in an appropriate portion of dough (half of this recipe), turn the cooker onto high (which isn’t high by stove standards, but rather by slow cooker standards) and let the whole thing go for about 45 minutes to an hour. The crock pot would slowly heat up, and the dough would do its proofing and baking at the same time.
The cookbook experts swore by it.
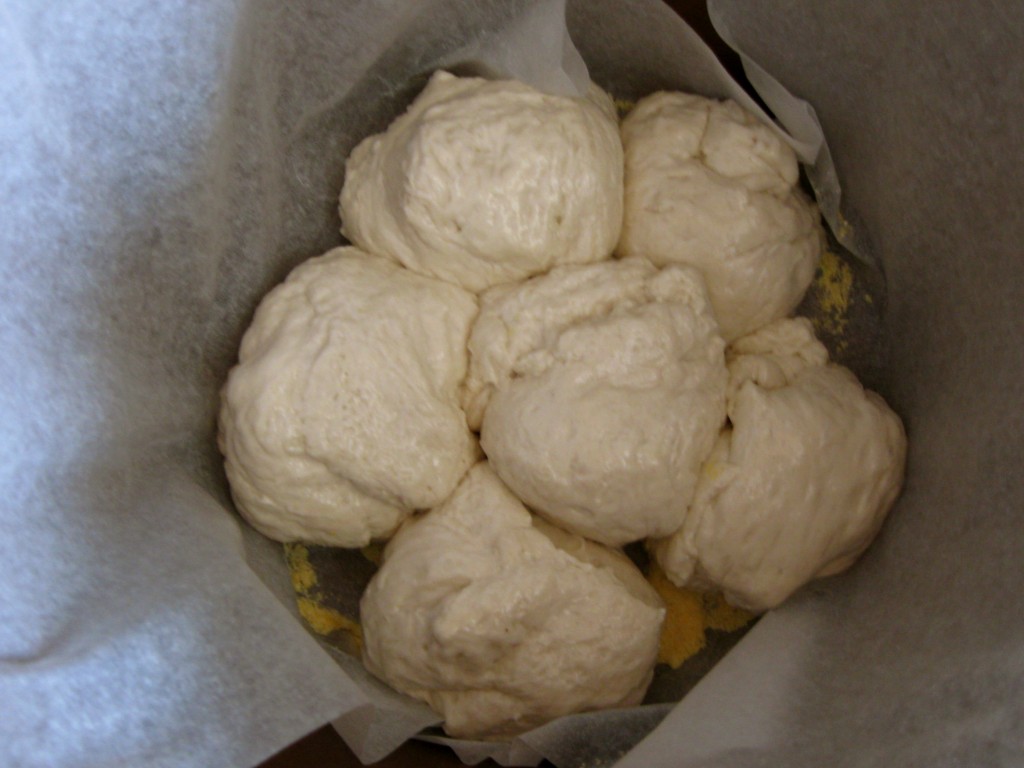
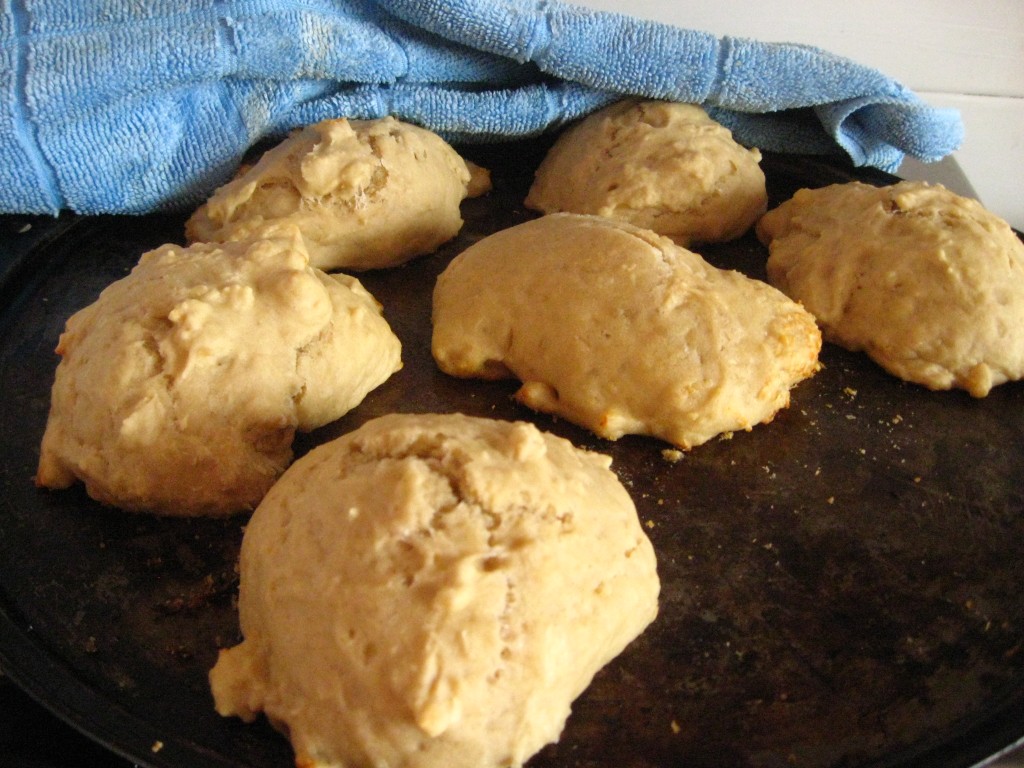
My lovely little buns baked for a total of 15 minutes before I heard the ping.
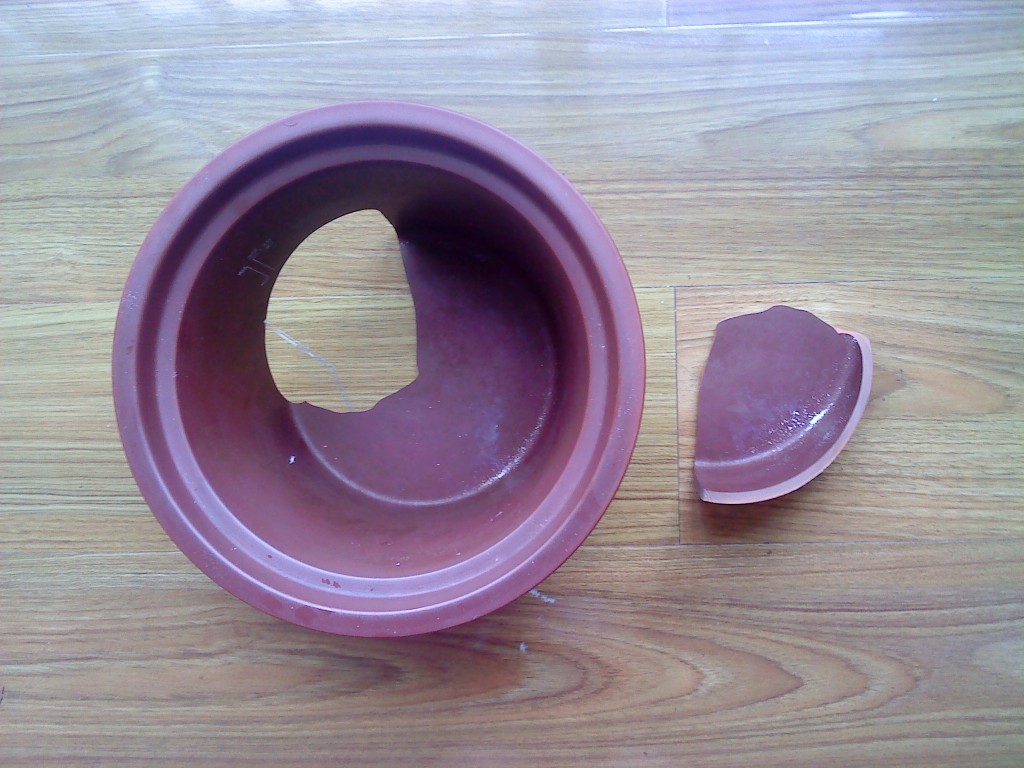
So, yeah, that didn’t quite go as planned.
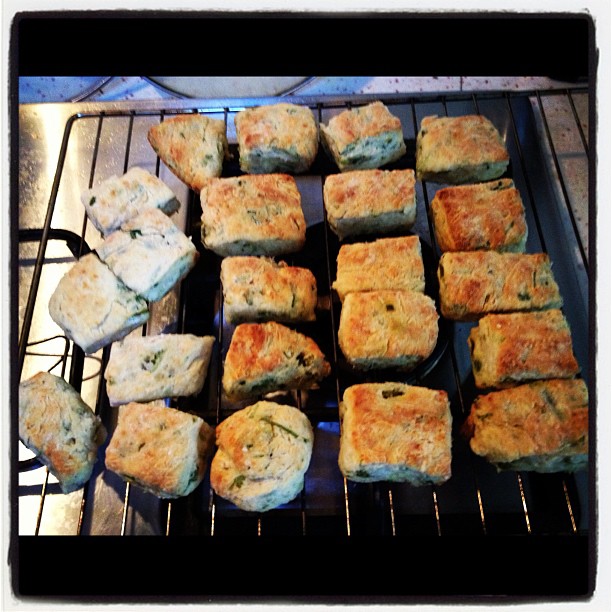
I yanked the parchment paper and uncooked dough out of the unhappy crock pot, marched into the kitchen and turned the toaster oven on to 180 degrees and shoved the whole lot in without pre heating. They resumed baking for the remaining 45 minutes they were meant to be in the crock pot.
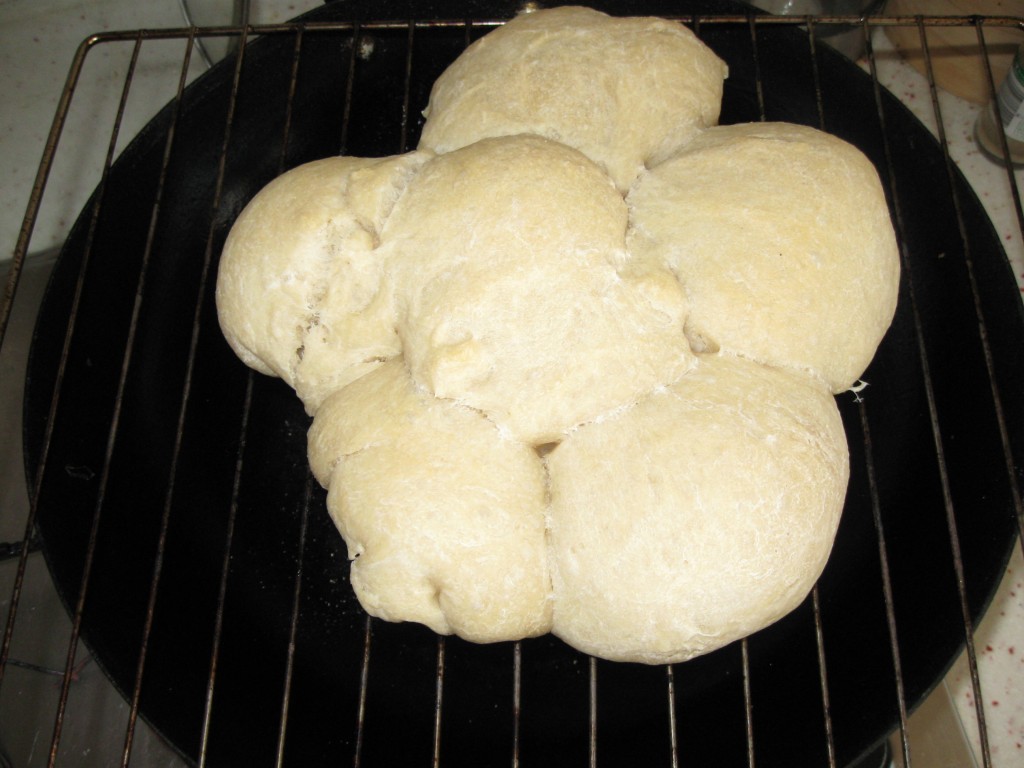
The other half of the dough stayed in the fridge for about a week. I wasn’t sure what I wanted to do with it.
Then I was sent off to Hefei on Saturday, so I decided to make a proper loaf of bread so I could at least have something to eat besides crappy instant noodles on the 4 hour train ride.
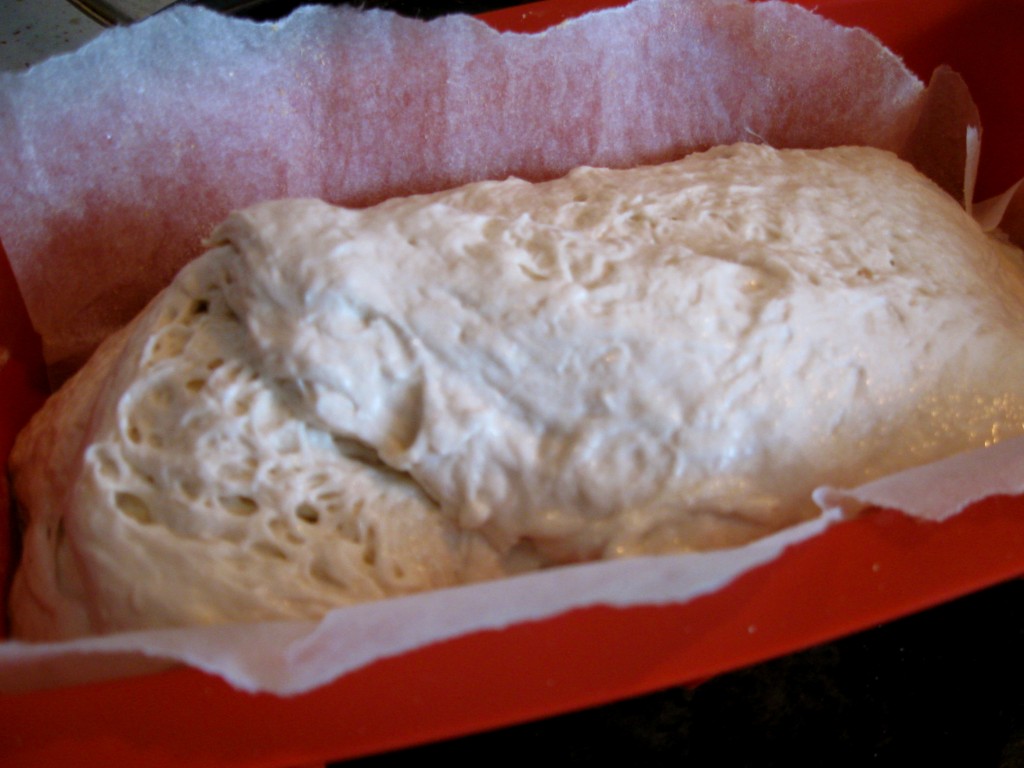
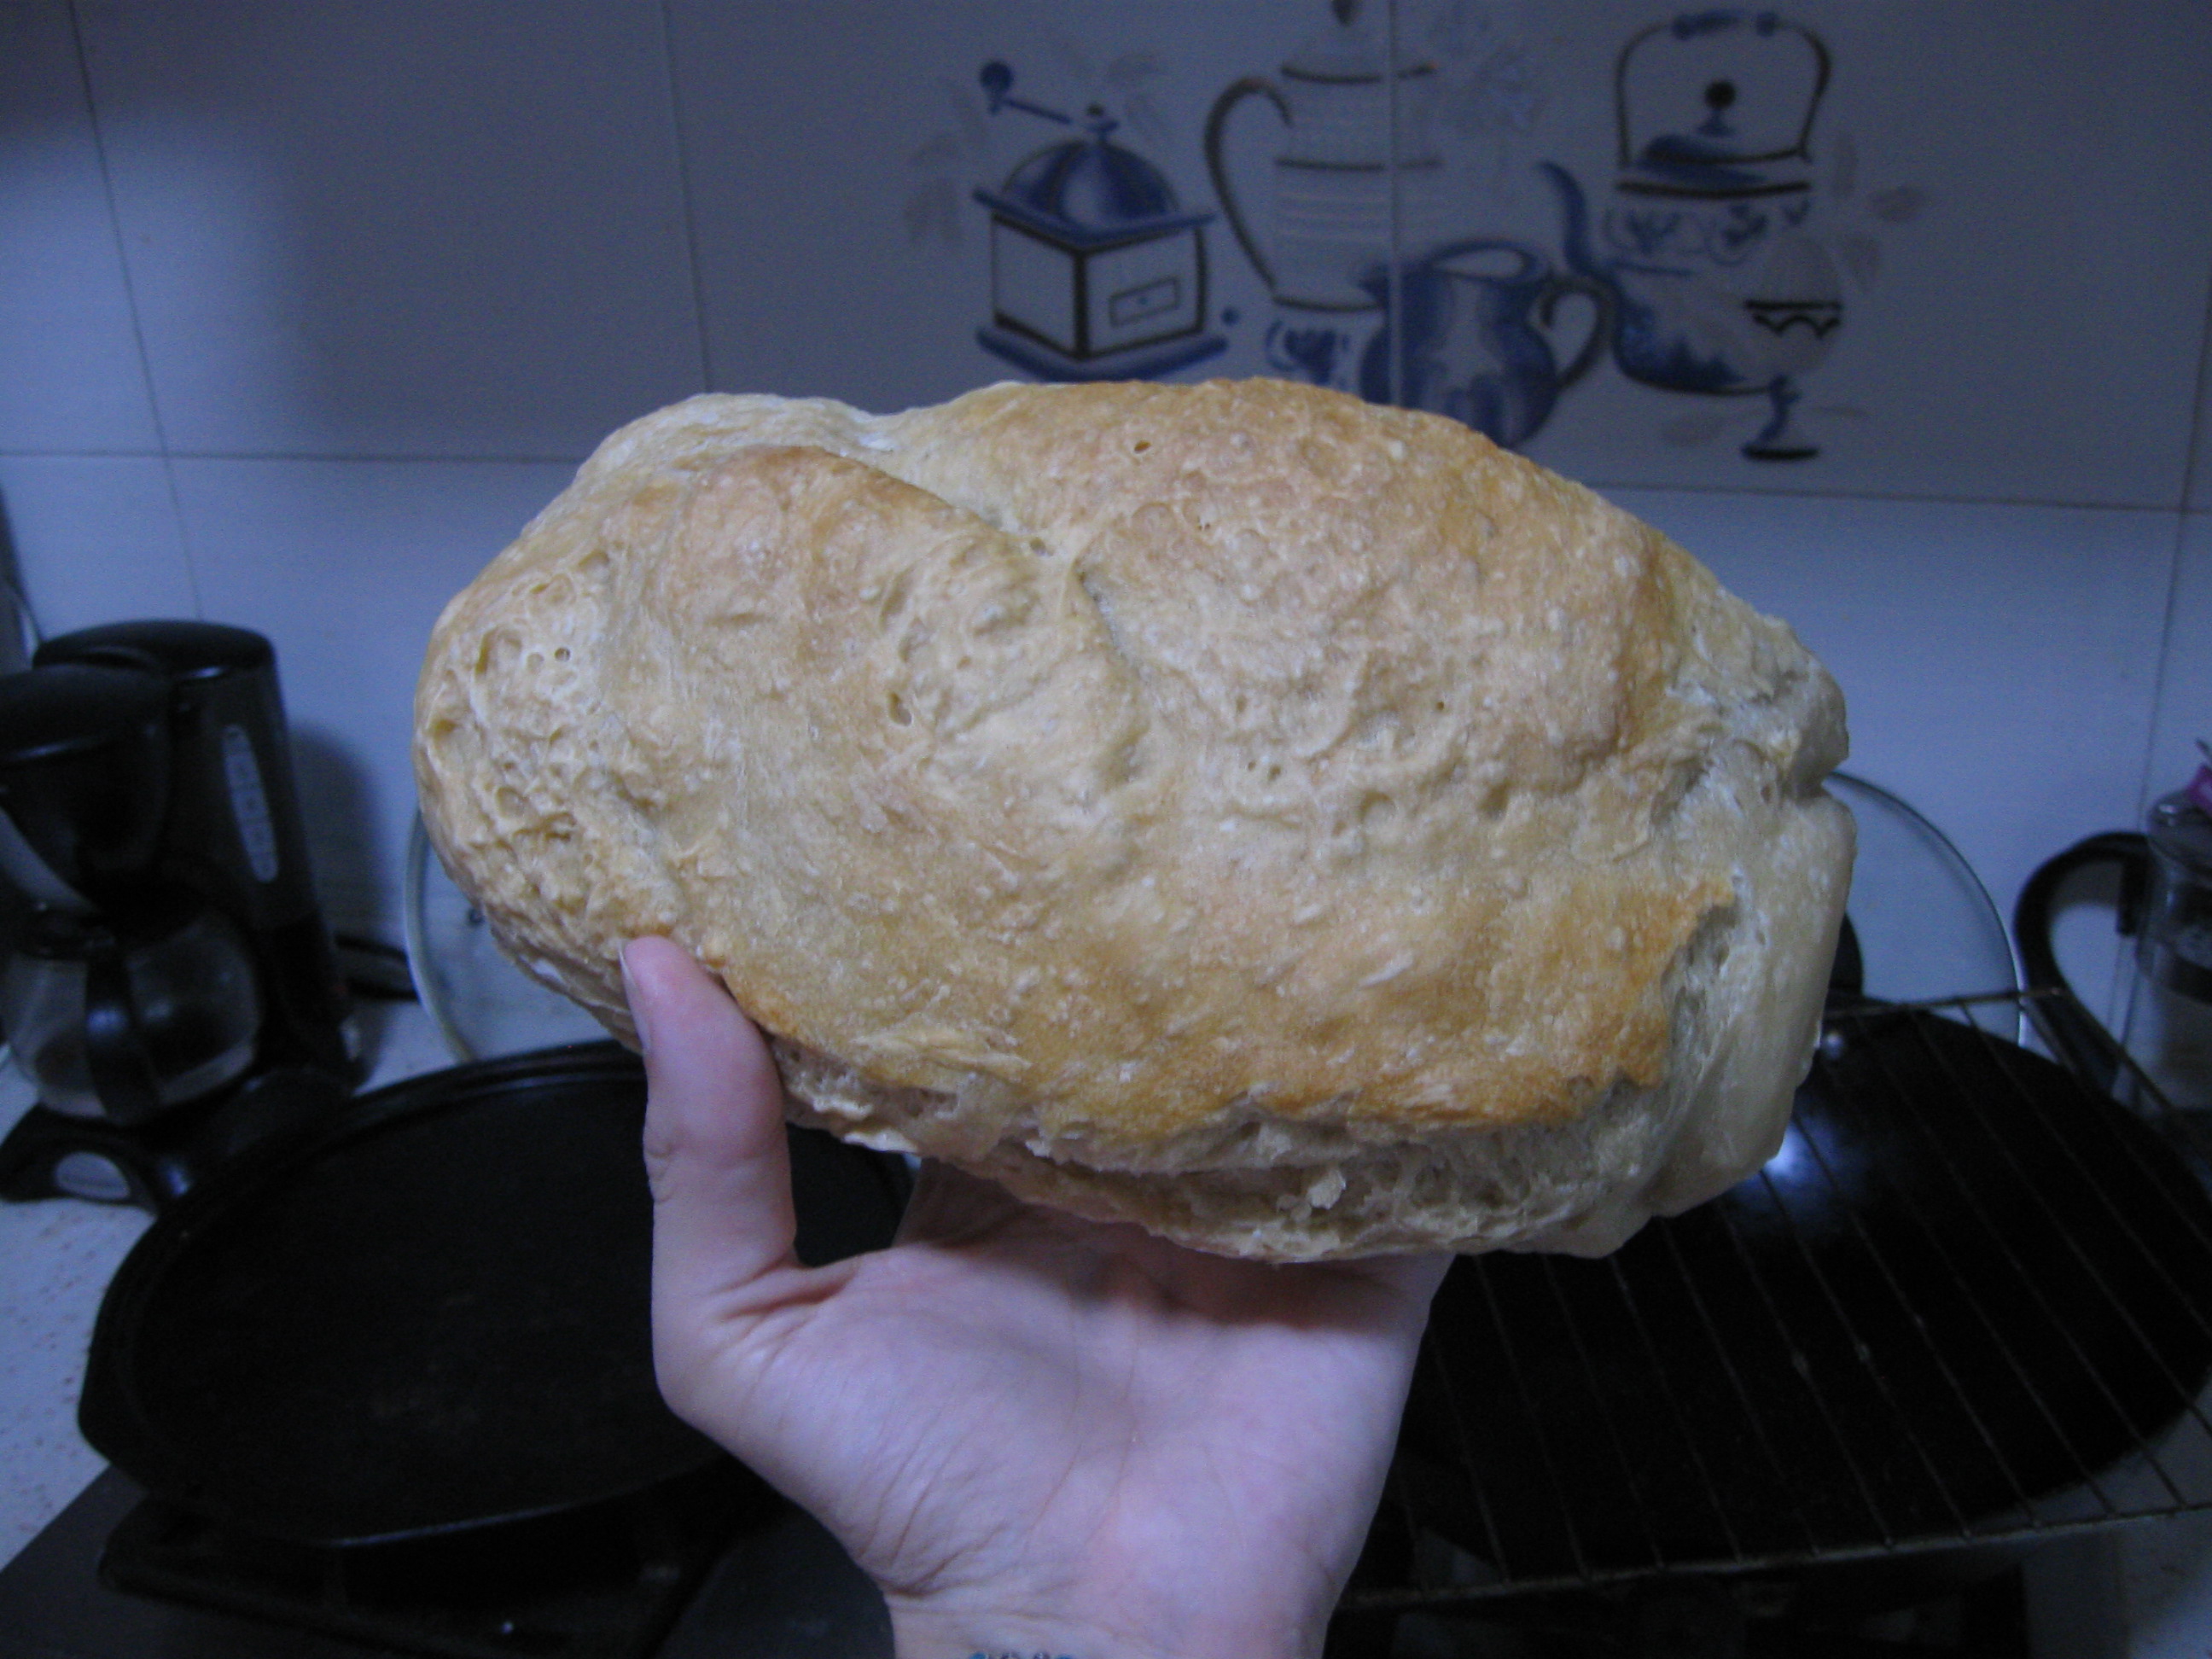
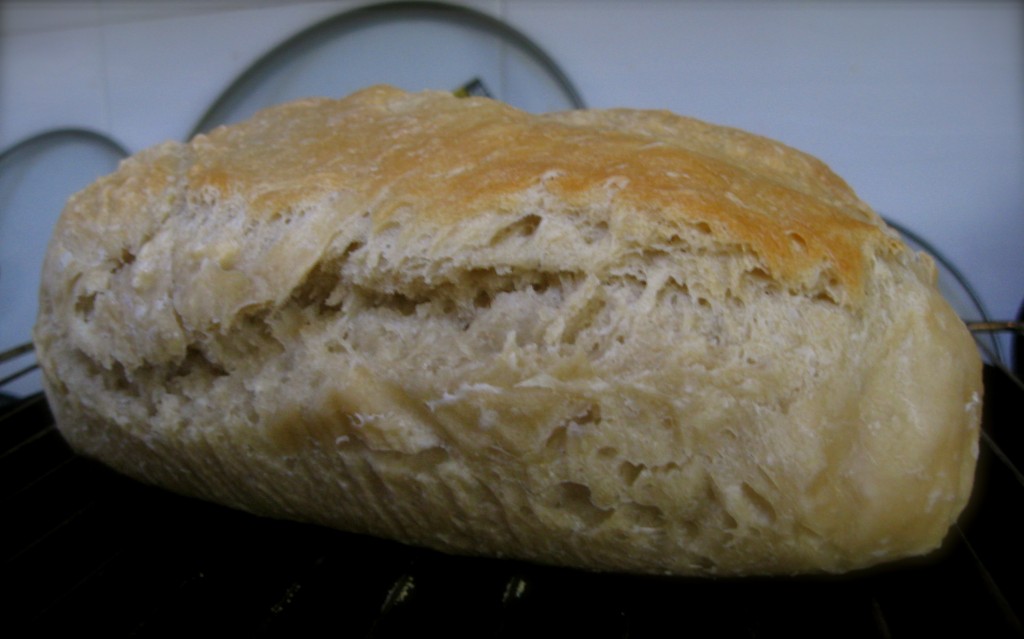
I baked it at around 180-190 degrees for about 40-45 minutes, though after the fact I read that 30-35 minutes at 230 makes for a better crust. Whatever. It worked.
It actually turned out really well.
See?
You May Also Like

Soft Cheese; Hard Wok: Experimenting with Fromage
March 1, 2012
Making Lovely Lazy Bread for the Zombie Apocalypse
November 10, 2013
6 Comments
mjskit
I have NEVER heard of crockpot bread! Of course, after seeing the broken crockpot, I can tell you that I’ll never be giving it a try. There are just some things that are meant to be baked and yeast bread apparently is one of them. However, I do appreciate you sharing your “experiment” because I learned never to do this! 🙂 The last bread that you finally ended up with looks perfect!
mjskit recently posted..Watermelon Rind Candies
MaryAnne
I had been so excited to try it out too! The http://www.artisanbreadinfive.com/ people had not one but two recipes for it on their site alone (loaf and herbed dinner rolls)! Now I need to go buy a whole new crock pot, which involves quite a trek out into the outskirts of the city. Bummer!
At least the bread was good (but that wasn’t a huge achievement ass I’d been making the full-on kneaded-dough kind since I was a kid…)
TracyAnn0312
I never thought that there are bread crock. Thanks for sharing the process of it. Thanks for sharing these.
Joanne
Awesome idea! I would never have thought to make bread in a crockpot.
Joanne recently posted..Easy and Smooth Hummus
Veggie Steve
LOVE the way you write. Love it. And your food=incredible. I want to try this. A LOT of it. Thank yo for sharing.
MaryAnne
Thanks!