Making Lovely Lazy Bread for the Zombie Apocalypse
Y’all, I’ve been quiet here. Eerily quiet. And you’re probably thinking, where has she been and why has she been such a lazy broad in that puny Chinese kitchen of hers?
Well.
To begin with, a few things have changed since I last showed my floury face in these parts (see here and here and here for details).
For one, I no longer have my puny Chinese kitchen, the one with the toaster oven and two-burner gas stove and bugger all in the way of counter space.
I’m now working my craft from a larger but also minimally equipped kitchen in the wilds of rural Vancouver Island.
There’s an oven and a 4 ring electric stove and a reasonable stretch of counter space to work with. Bags of whole wheat and spelt flour are readily available and affordable; milk is less dodgy; yogurt is plentiful and unsweetened. I can buy ricotta in the shops. I have a few generations of humble, unmatched mixing bowls and a number of baking sheets and tins in various shades of well-used, well-seasoned blackness.
So there’s that.
I initially felt awkward with the idea of documenting my nearly daily forays into cooking and baking here as they most certainly were not being carried out in the titular wok.
Can a gal still blog about trying to cook in China if she’s actually cooking in Canada?
I had my doubts.
Then I started to think about it seriously.

What I’ve been doing here hasn’t been all that different from what I did back in Shanghai, which was to break everything down to its most basic steps to build up a western staple from scratch. Same same, y’all.
One of my current projects has been a continuation of a project I had started last year back in Shanghai, namely slow-rise, no knead breads.
Ages ago, I put up a basic focaccia recipe here, which I’ve been tweaking here with the inclusion of roasted, pureed sweet potatoes and yams.
I have also been taking the straight 24-hour rise bread recipes I tried to work with in my old crock pot (the one I killed with those aforementioned breads) and tweaked them to make something partway between chewy bread sticks and baguettes.
People who are in places with minimal access to western comforts and conveniences, rest assured!
I’m still chugging away in my quest to figure out how to make everything by hand in improbable places, even though I can easily drive into town to the enormous supermarket to get pretty much anything at a surprisingly reasonable price these days.
Why do I bother doing it the hard way?
Just in case. You never know when you might end up back in China or in the midst of a zombie apocalypse and have a hankering for some lovely fresh bread.
You don’t want to waste precious zombie-fighting time by spending all your time kneading dough or fishing out change for the zombie cashier.
Thus, I present you with two (or three, if you count the whole wheat as a separate bread) ridiculously easy no-knead yeast breads that are basically the same but completely different. Enjoy.
Bread 1: The basic slow-rise, no knead bread
This one was a revelation.
I first made the basic, all-purpose white flour version (see screenshot below). However, after previously experimenting most disastrously with high-temperature, heavy-pot baking (and the resulting lump of charred brick), I changed the procedure somewhat.

See the recipe above? It’s gorgeous. In theory.
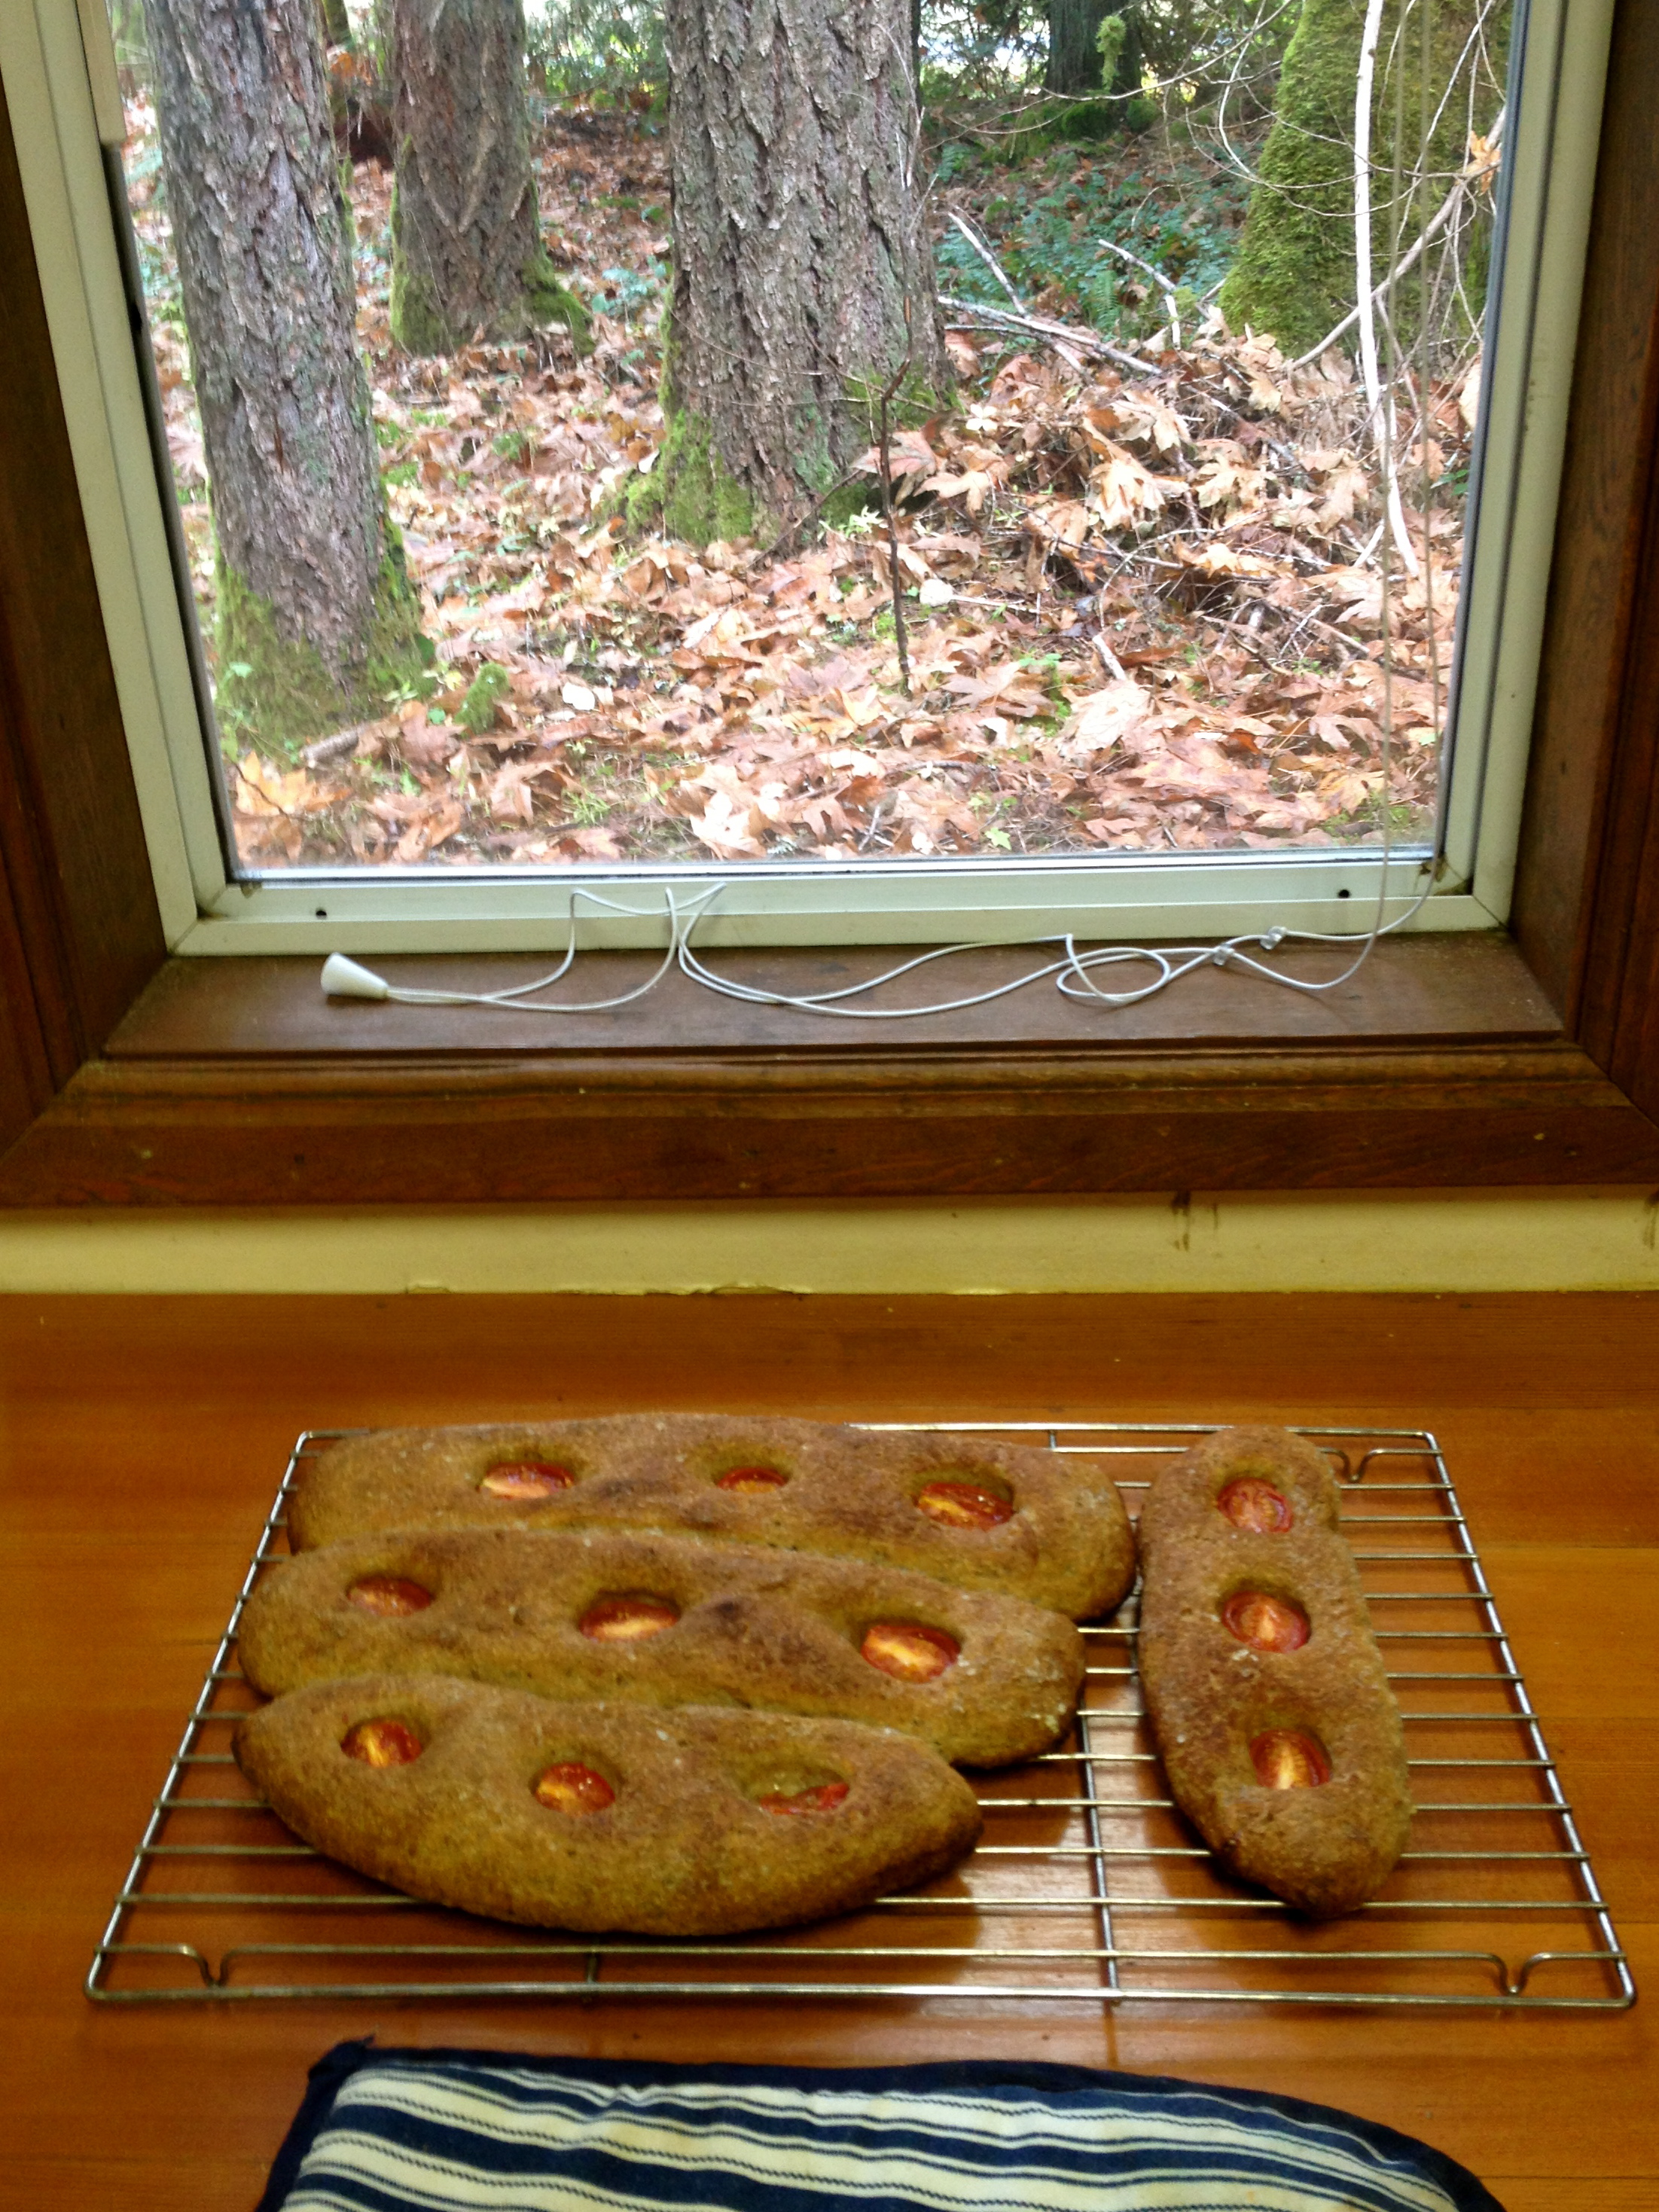
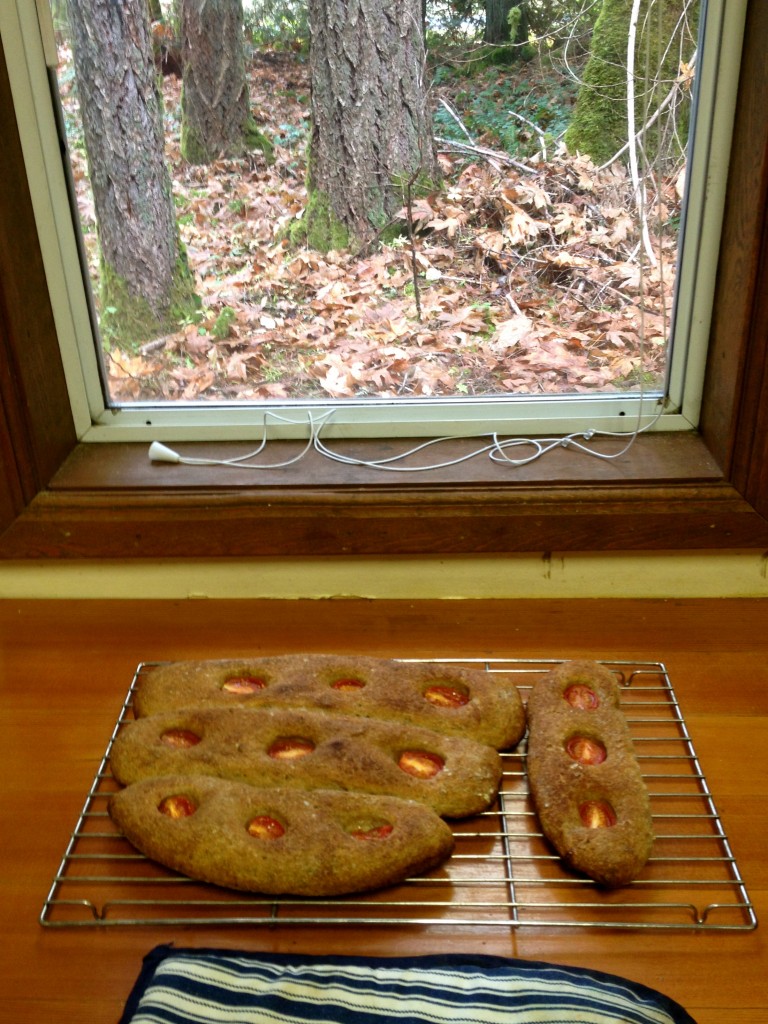
But if you don’t have a heavy pot to bake in or don’t fancy the risk of emerging with blackened giant hockey pucks, do what I did: before the second rising, divide the gloopy risen dough into 4 pieces, dust them lightly with flour, then stretch them into little baguettes, about 30cm long, and place them on a slightly oiled baking sheet. Brush with a little oil; sprinkle on a little sea salt (or kosher or whatever you have). I inserted a half dozen halved cherry tomatoes, pressed deeply into the dough so they didn’t pop out during the second rising. Let them rise again for about an hour or two.
Bake at 475 degrees for 15-20 minutes.
Happy little breads!
But I’m getting ahead of myself here.
Let me show you something important about this no-knead, slow rise bread.
The dough.
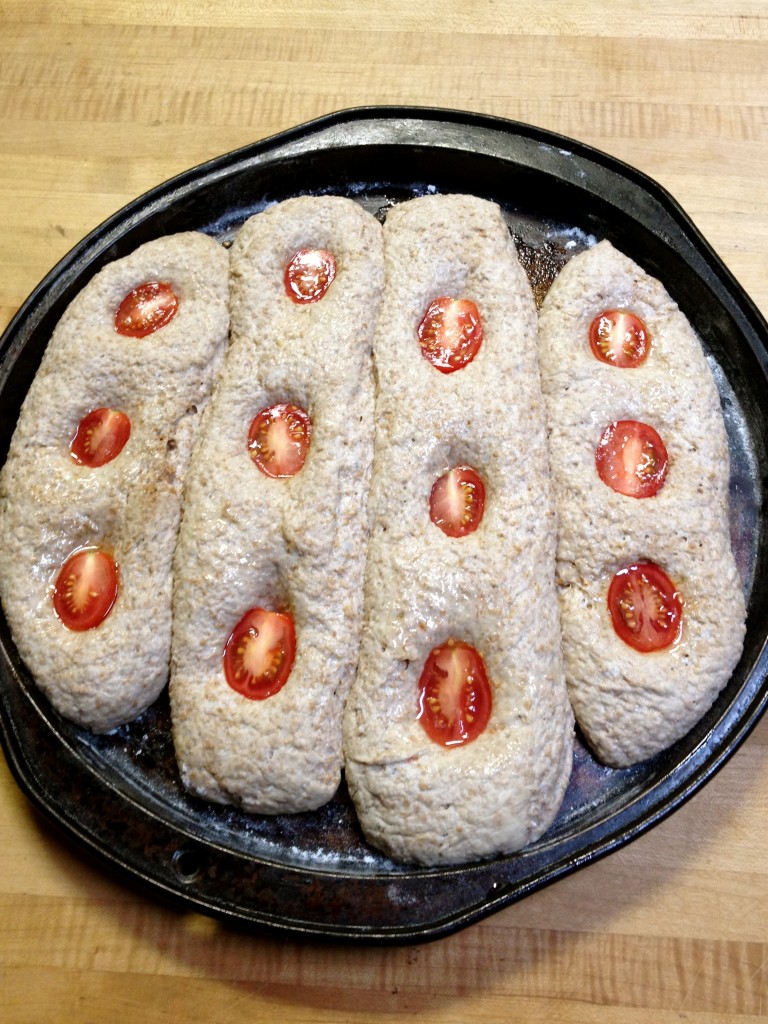
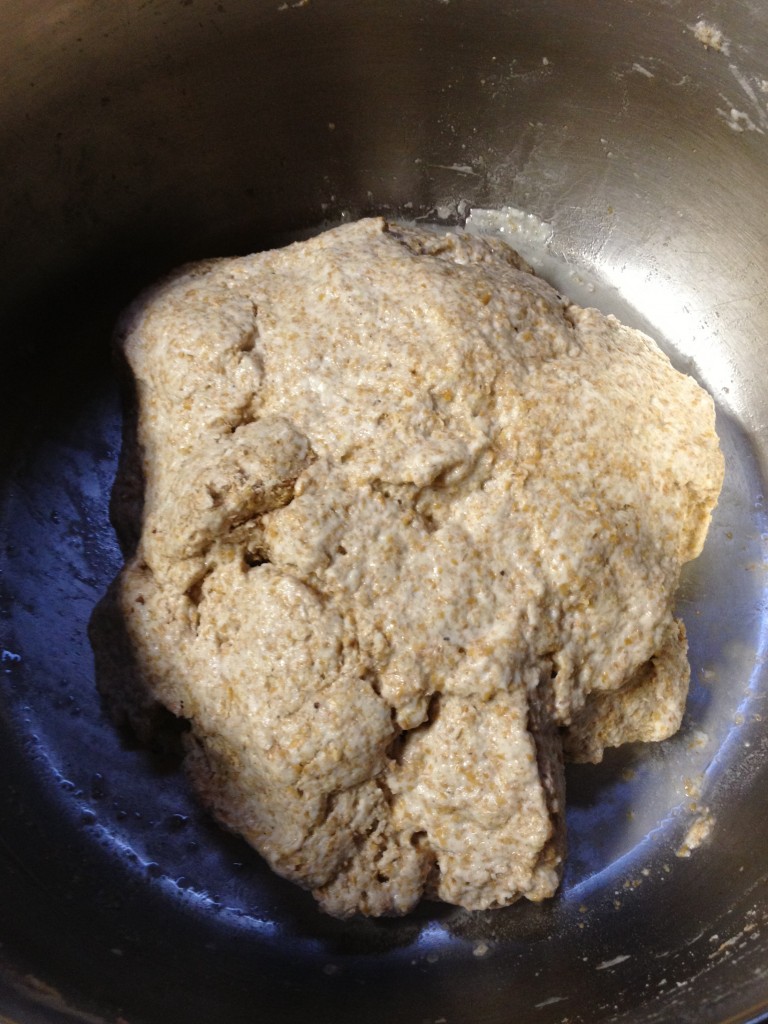
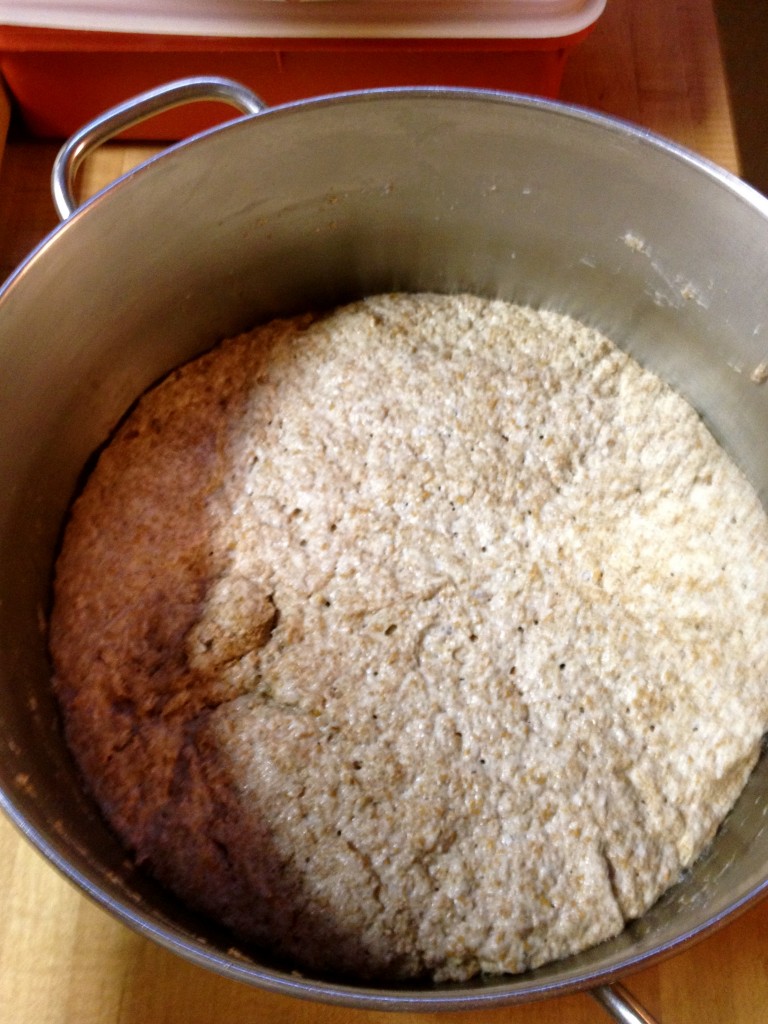
I’ve only got a photo of the whole wheat dough I made, because I totally forgot to document the all-purpose white version.
This dough should be wetter, stickier, goopier than normal dough. If you’re used to making regular kneaded bread, this might feel weird. It needs the extra wetness for the yeast to develop over time and for the gluten to get all lovely and chewy during the long rising.
Extra legroom, if you will. Tight dough is unhappy dough.
I’ve found that the recipe on the website is a bit dry- maybe my flour is heavier? Maybe my well-water is dryer than city tap water?
I don’t know.
I needed to add about 50ml (for white flour) to 120ml (for whole wheat) extra water for my doughs to get the desired consistency. They should hold together in a rough, sturdy ball but still stick awkwardly to your hands when you touch them. You will need to wash your hands afterward.
Also, for whole wheat flour, double the amount of yeast to about .5 teaspoon (2-3ml)
This particular recipe produced two rather different breads, depending on whether you went whole wheat or all-purpose:
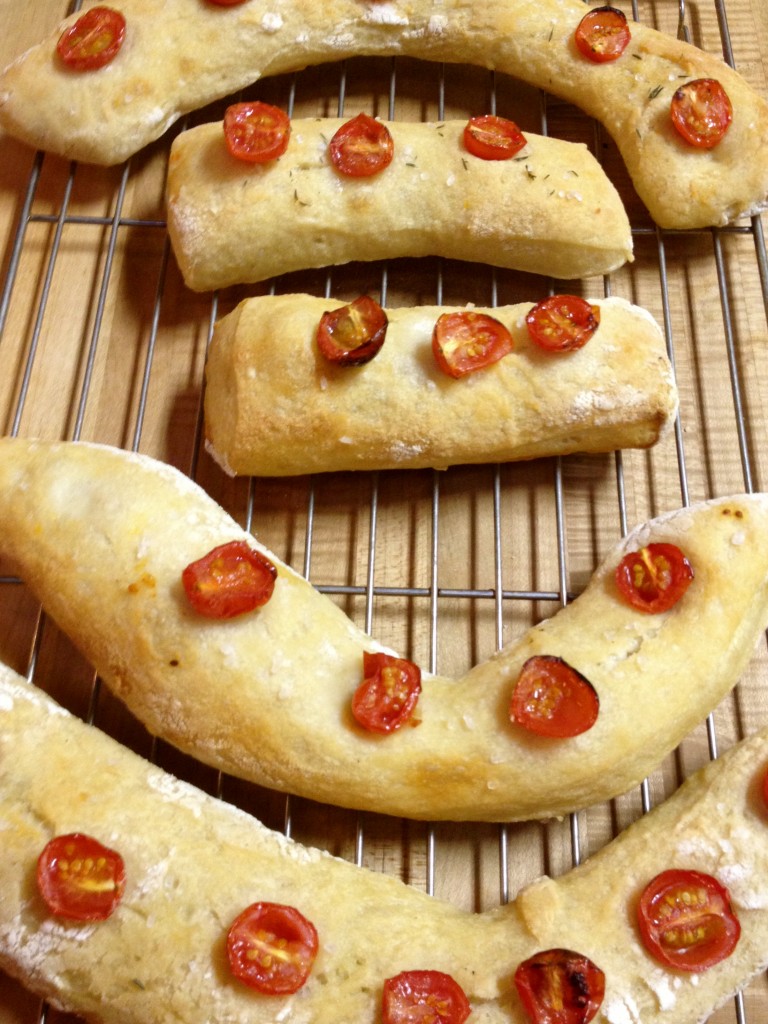
The all purpose flour produced lovely, chewy, dense, almost pretzelly mini-breads. They were gorgeous.
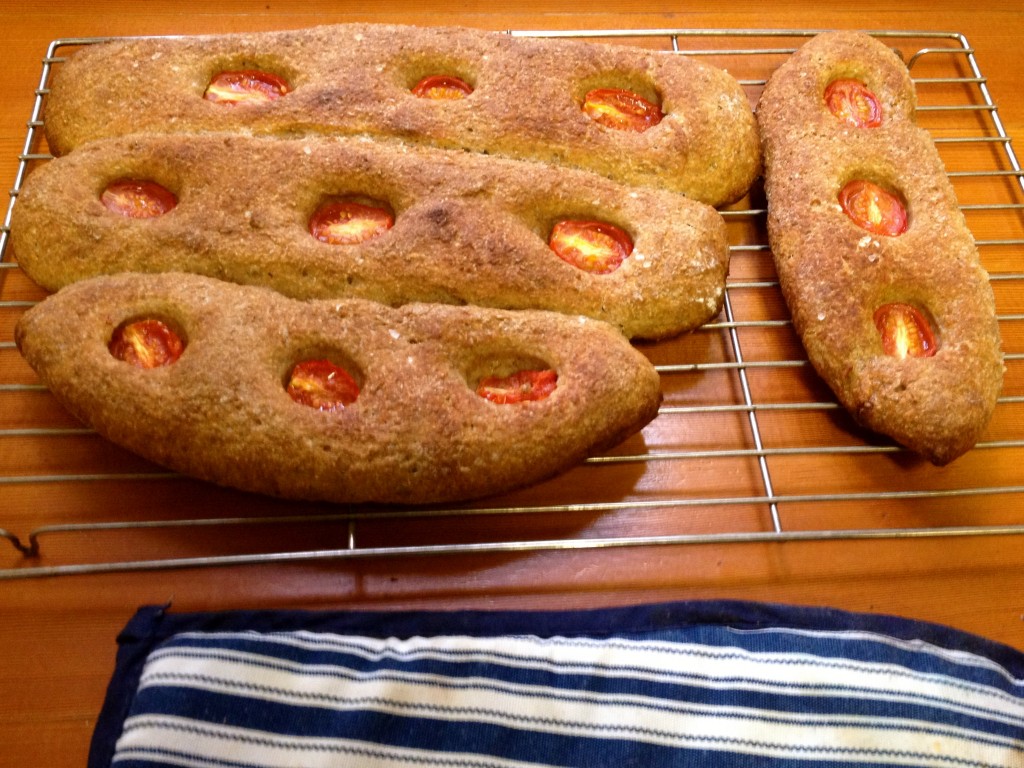
The whole wheat ones spread out a bit flatter than the all-purpose ones, and had a remarkably light crumb for such a heavy flour. Compared with the all-purpose ones, they were less chewy, less pretzelly. I’ve made them twice since, though, and they’ve been a fine accompaniment to the myriad of autumn soups we’ve been making.
Bread 2: The leftover yam focaccia
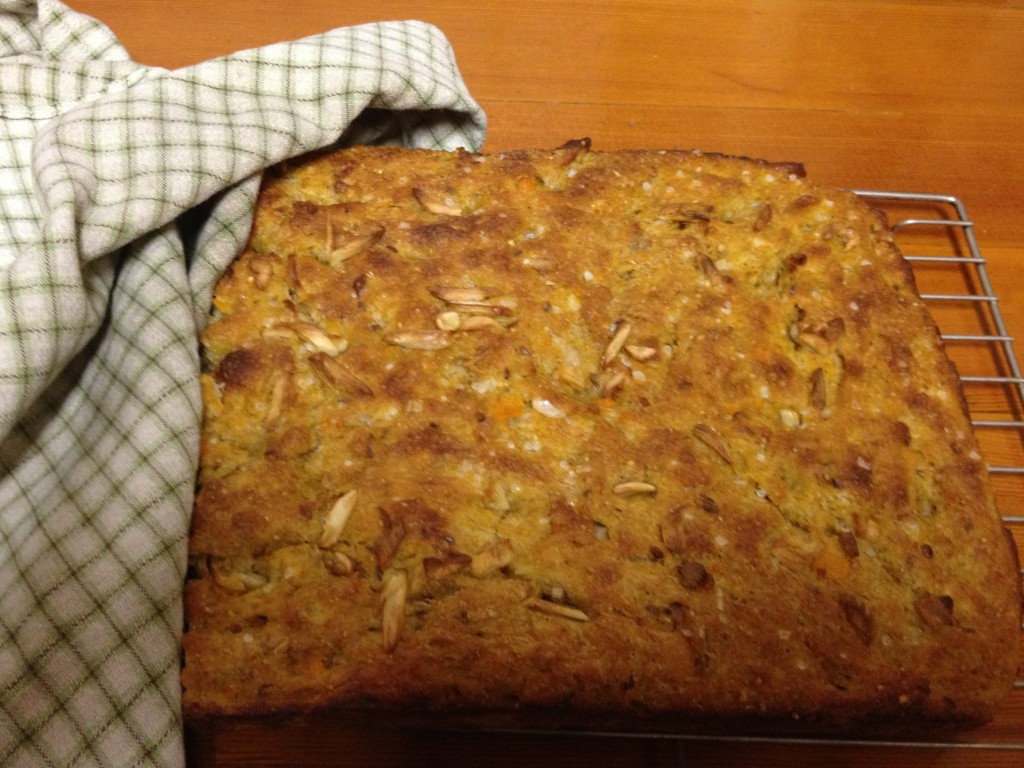
I’ve made focaccia before, both the regular and the no-knead versions. This one was an experiment carried out when I realized we had way too much roasted sweet potato in the fridge. It’s only a 3 hour rise (plus another for 2nd rise) so you don’t need to plan a day in advance.
The basic yamless focaccia dough is this:
4.5 cups flour (I used part whole wheat, part all-purpose)
2.5 teaspoons (10g) instant yeast
1 teaspoon (4g or 5ml) sugar (I used brown)
1.5 teaspoons table salt
about 2.5 cups of warm water
Let’s just pretend we’re starting out with the basic non-yam/non-sweet potato dough.
Throw all of the dry things together in a bowl. Give them a stir.
Don’t add the hypothetical water just yet!
Find enough cooked yam or sweet potato to fill a packed measuring cup (about 240ml).
Get your spud masher out. Or if you have a blender or food processor, get it out. We want mashed, possibly even pureed yam here. I used the potato masher for mine. Slowly start adding very warm water (not hot) to your yam mash, to make, essentially, a spud smoothie.
This will be the liquid for this dough.
And yes, it is orange.
And yes, if you only have a potato masher (as I did), there will be a few orange lumps. That’s cool. Add it to your dry mix and give it a good mixing with your hands.
When you’ve mixed it all together into the wet sticky dough you encountered in the basic bread dough above, cover the bowl and walk away. You’ve got about 3 hours to kill now.
We watched a significant amount of season 4 of The Wire and drank a pot of tea and ate lovely home baked cookies.
After 3 hours, tip your dough onto a 13-by-18 inch lightly oiled baking sheet. It’ll be quite loose, with some lovely long gluten strands holding it all together. Pull and stretch the dough so it fits the pan. It’ll be about an inch or so high.
Drizzle olive oil over it, about 30-45 ml (2-3 tablespoons). Sprinkle it with some crunchy salt (about half a teaspoon). Poke dimples all over the surface of the dough for the oil to pool lovingly in.
Put it aside and let it rise again for an hour while you go drink more tea and watch another episode of The Wire.
About half an hour before the second rise is finished, turn on the oven to 400F, rack in centre.
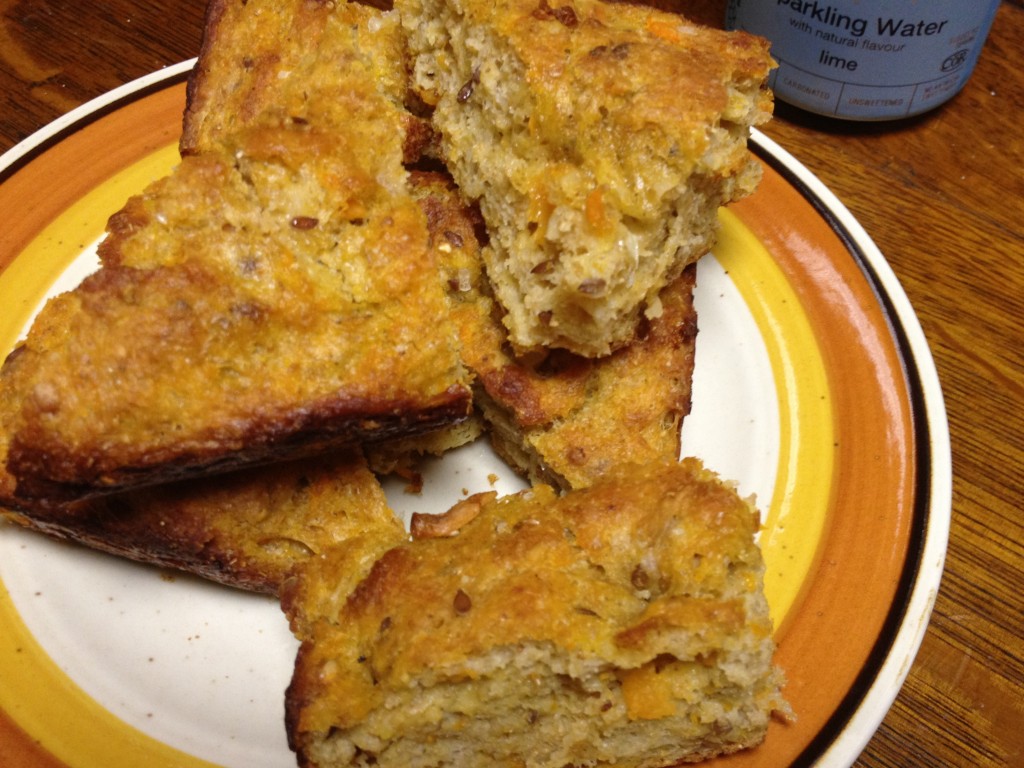
The focaccia will bake for about 30-45 minutes and should shake loose in the baking sheet when you give it a jostle. Mine was done in 30 minutes.
When the zombies come, you’ll at least have a happy tummy full of fresh, hot bread. It’s a start.
You May Also Like

Adventures With Sauerkraut in Shanghai
March 5, 2012
شىنجاڭ Uyghur Irish Stew
October 16, 2011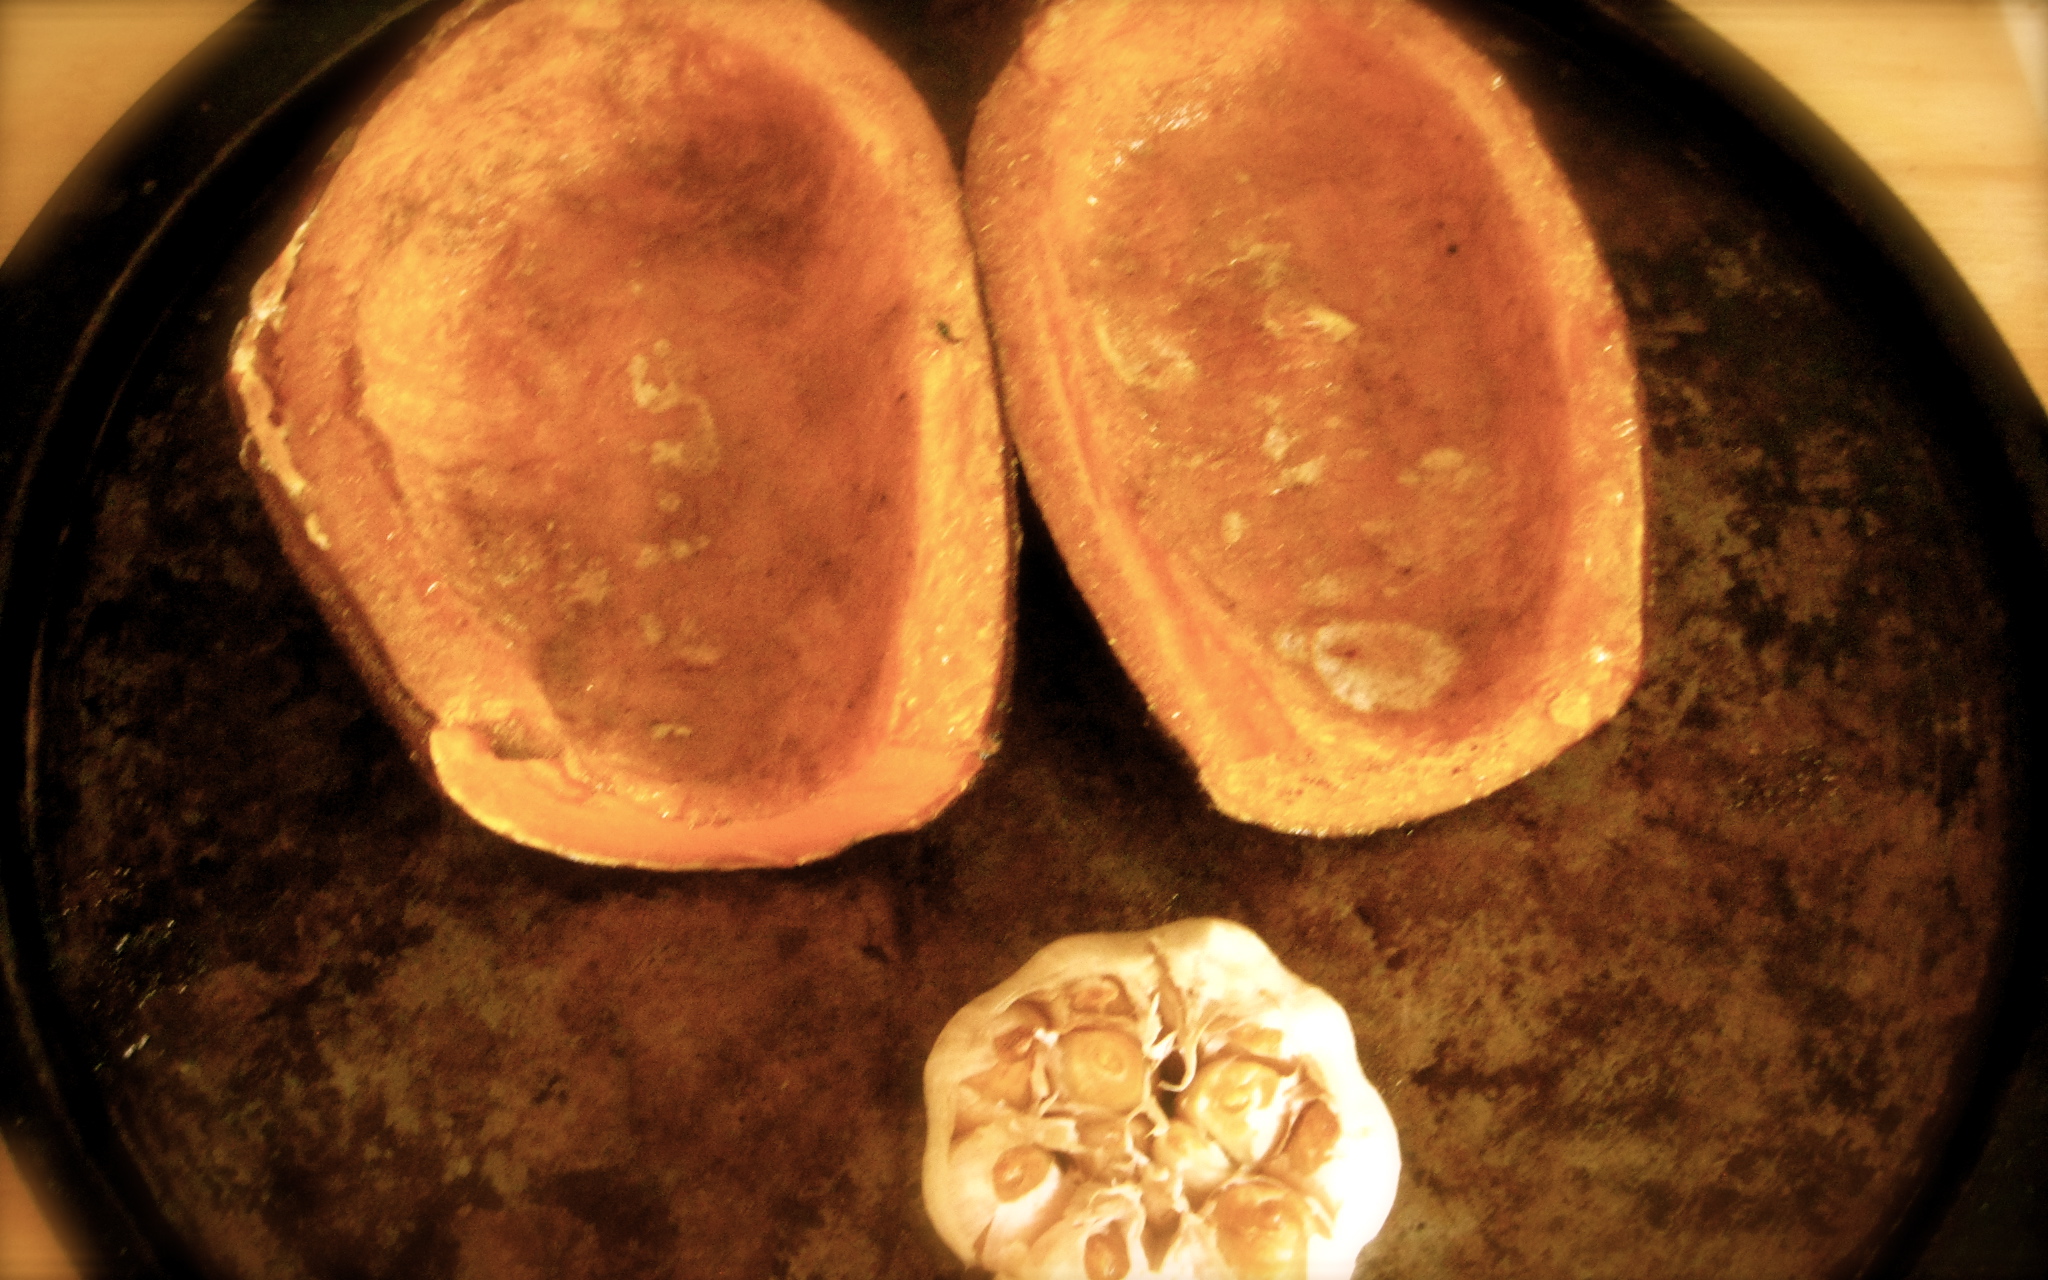


7 Comments
mjskit
Welcome back!!! WOW – a lot has happened! Canada and a little bigger kitchen. The pictures are much more beautiful that the pictures from Shanghai. Clean skies and gorgeous views! I’ve been baking a lot more bread the past two years so I’m always looking for more bread recipes. Both of these look delicious but I have to say that I’m very interested in the yam focaccia. Great recipe!
mjskit recently posted..Thai Tea Pudding
MaryAnne
Thanks! It’s great to be back! Starting next week, I’ll be hopefully baking and cooking from somewhere in rural Leicestershire, where we will be for the next few weeks while we get set up for the next step. I’m curious to see what can come next… By the way, with those slow rise breads in the post, I just discovered that making a starter (1.5 tsp yeast, 1/2 cup flour, 1/2 cup of warm water, stirred and sat to develop for 30 min) mixed with 4 cups of flour, 1.5tsp salt, and 1 12 oz (355 ml) can of nice beer (plus another half cup or so of water, as needed to make a sticky dough), then allowed to rise about 4-6 hours is AMAZING. Second rising for another 30-45 min. I made a focaccia like that and it was a revelation!
Still working my way through the massive amount of pumpkin I have leftover from roasting and pureeing the Halloween one…
Marcel
Wow – that’s a great post!
Looks fairly easy but most importantly it looks yummy.
I’ll try those recipes. 🙂
Marcel recently posted..Sensational Avocado Salsa
Zurainny Ismail
I definitely like the sound of ‘ridiculously easy no-knead yeast breads’ – definitely a must-try for me. 😀
Zurainny Ismail recently posted..Ramadhan Buffet & Meal Deals: Buffet Ramadhan Casa Ombak
Kelsey @ Snacking Squirrel
i totALLy bet they were awesome with butter. and tea on the side 🙂
MaryAnne
Yup. Totally.
Collina Claspa
Really fun reading through… I’ll try this sometime, lazy bread huh.
Meanwhile you can check out this health blog.
http://www.youmustgethealthy.com